Ethereum Staking Tutorial For Institutions Using Multi-Sig Wallet
Prerequisite
- Safe Wallet Account
- Safe API Key
- Private key of a signer or proposer
- Stake DxPool institution API Key
- Multi‑sig script
- Download the
safe-scriptrepository from GitHub.
git clone https://github.com/dxpool/safe-script.git && cd safe-script
- Create and activate a virtual environment, then install all packages from
pyproject.toml.
python3 -m venv venv && source venv/bin/activate && pip install .
- Copy
config_example.jsonand rename it toconfig.json.
cp config_example.json config.json
- Fill in the details in
config.json. - Run the script.
python3 main.py
- Script runs successfully (you should see output like below):
I. Run the script
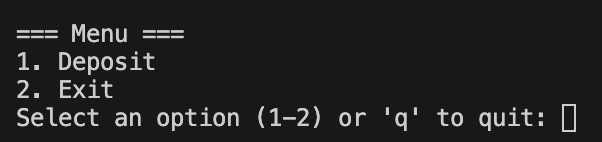
When this menu appears, enter
1to start staking, enter2to exit, or enterqto quit. This tutorial proceeds with1to start staking.
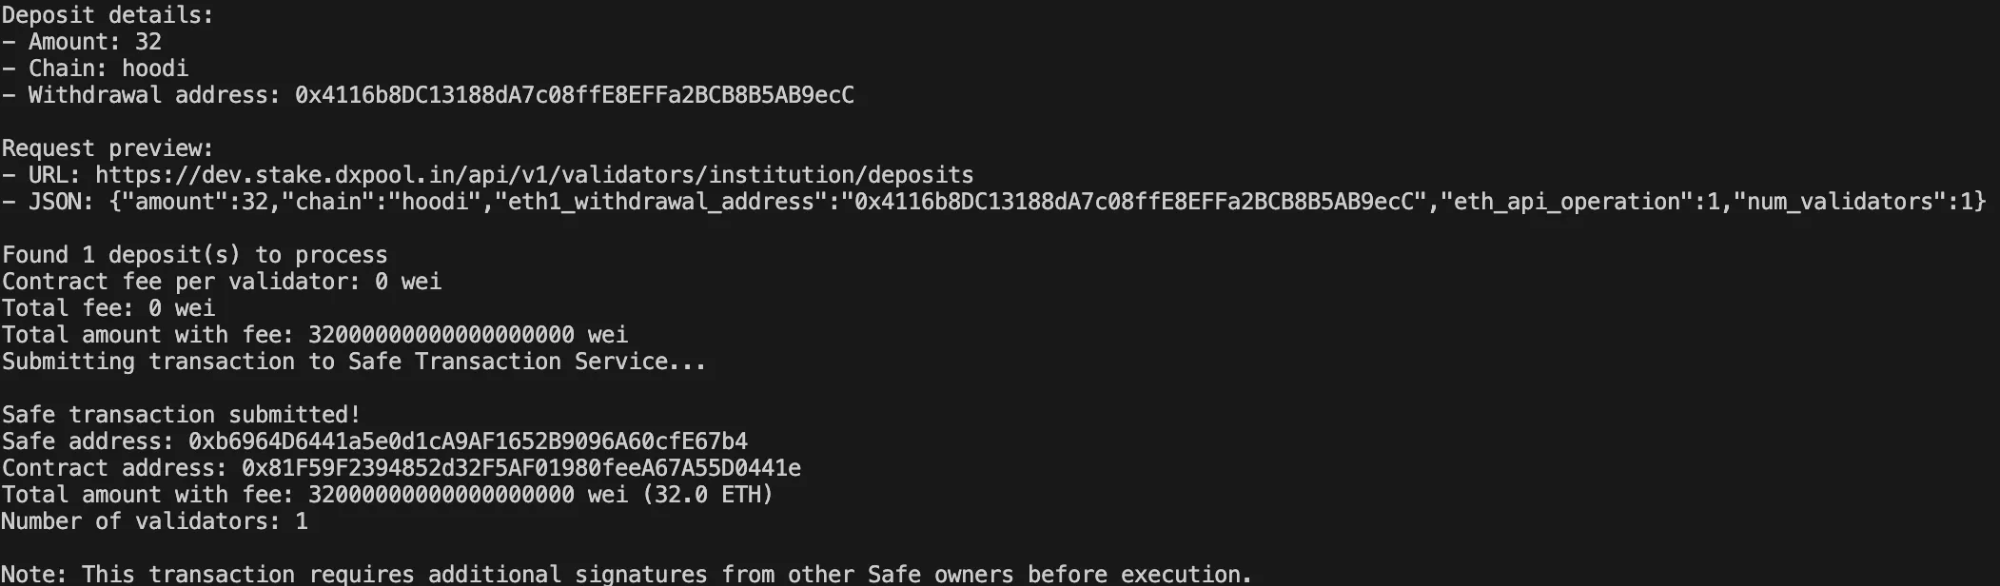
Enter the staking amount (between 32 and 2048):
![]()
- Enter chain (for now only Hoodi Testnet and Mainnet are supported):
![]()
- Enter withdrawal address (this can be your safe wallet address or any other wallet address that you own or control):
![]()
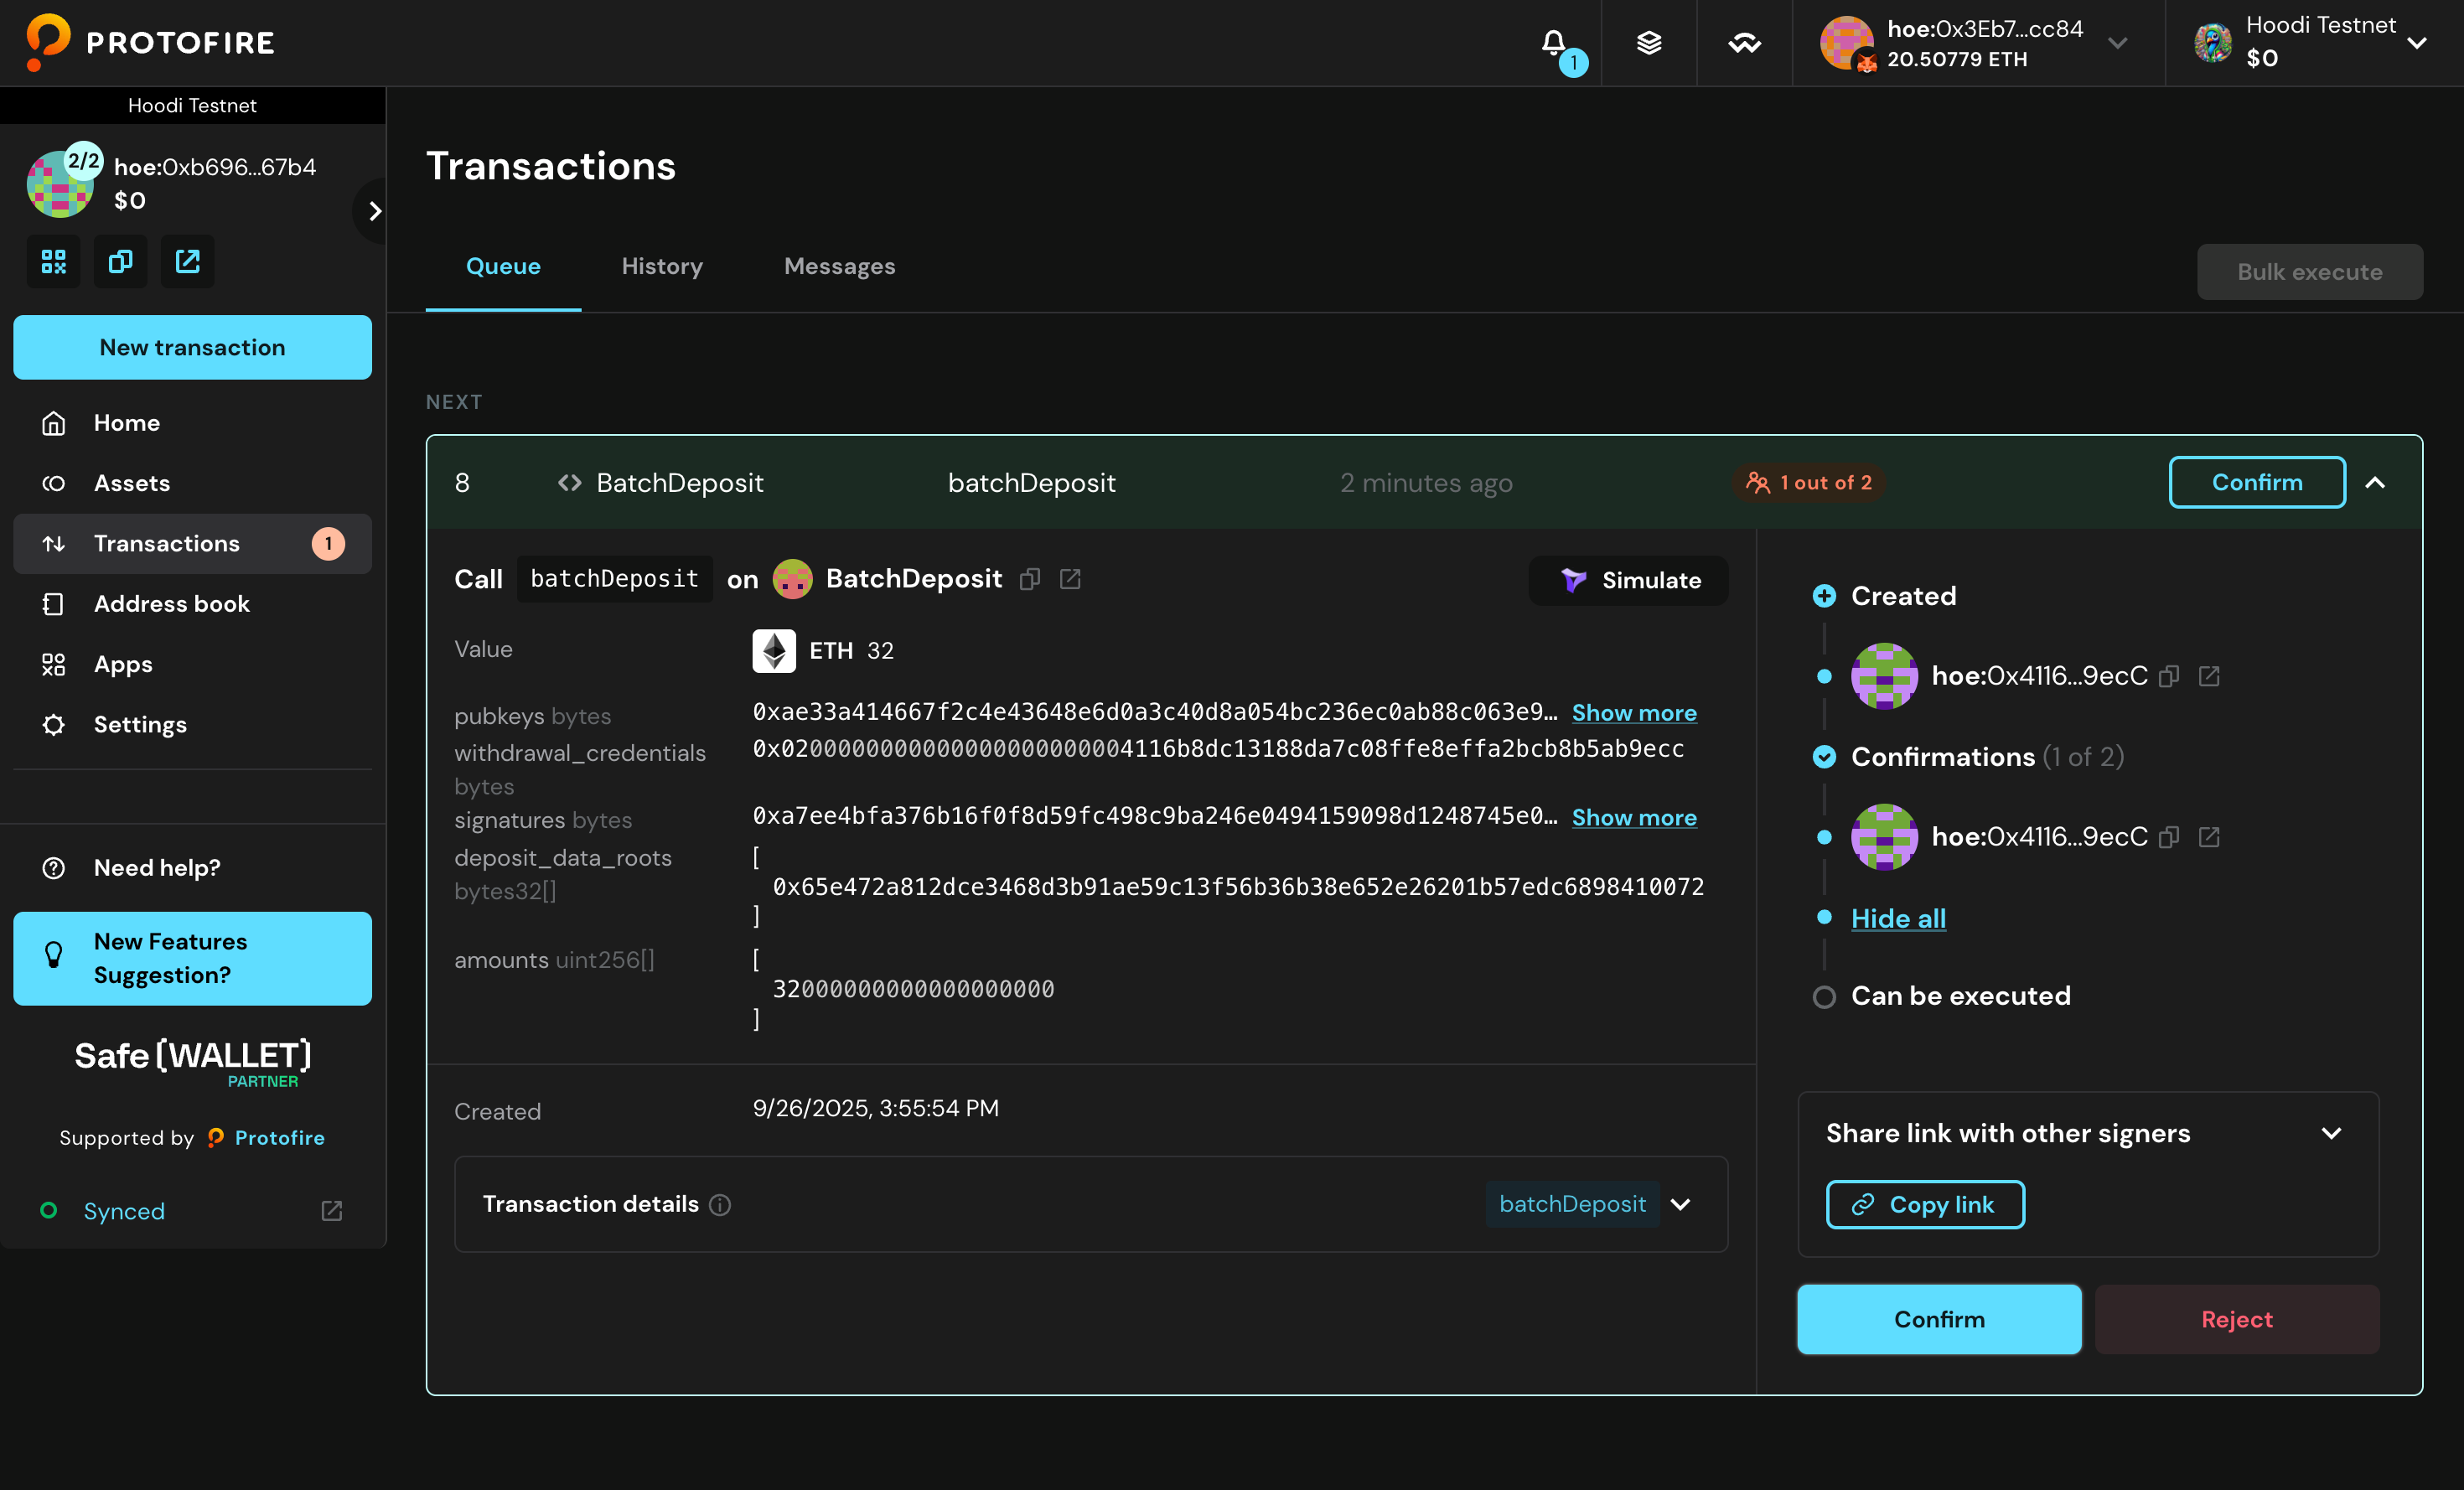
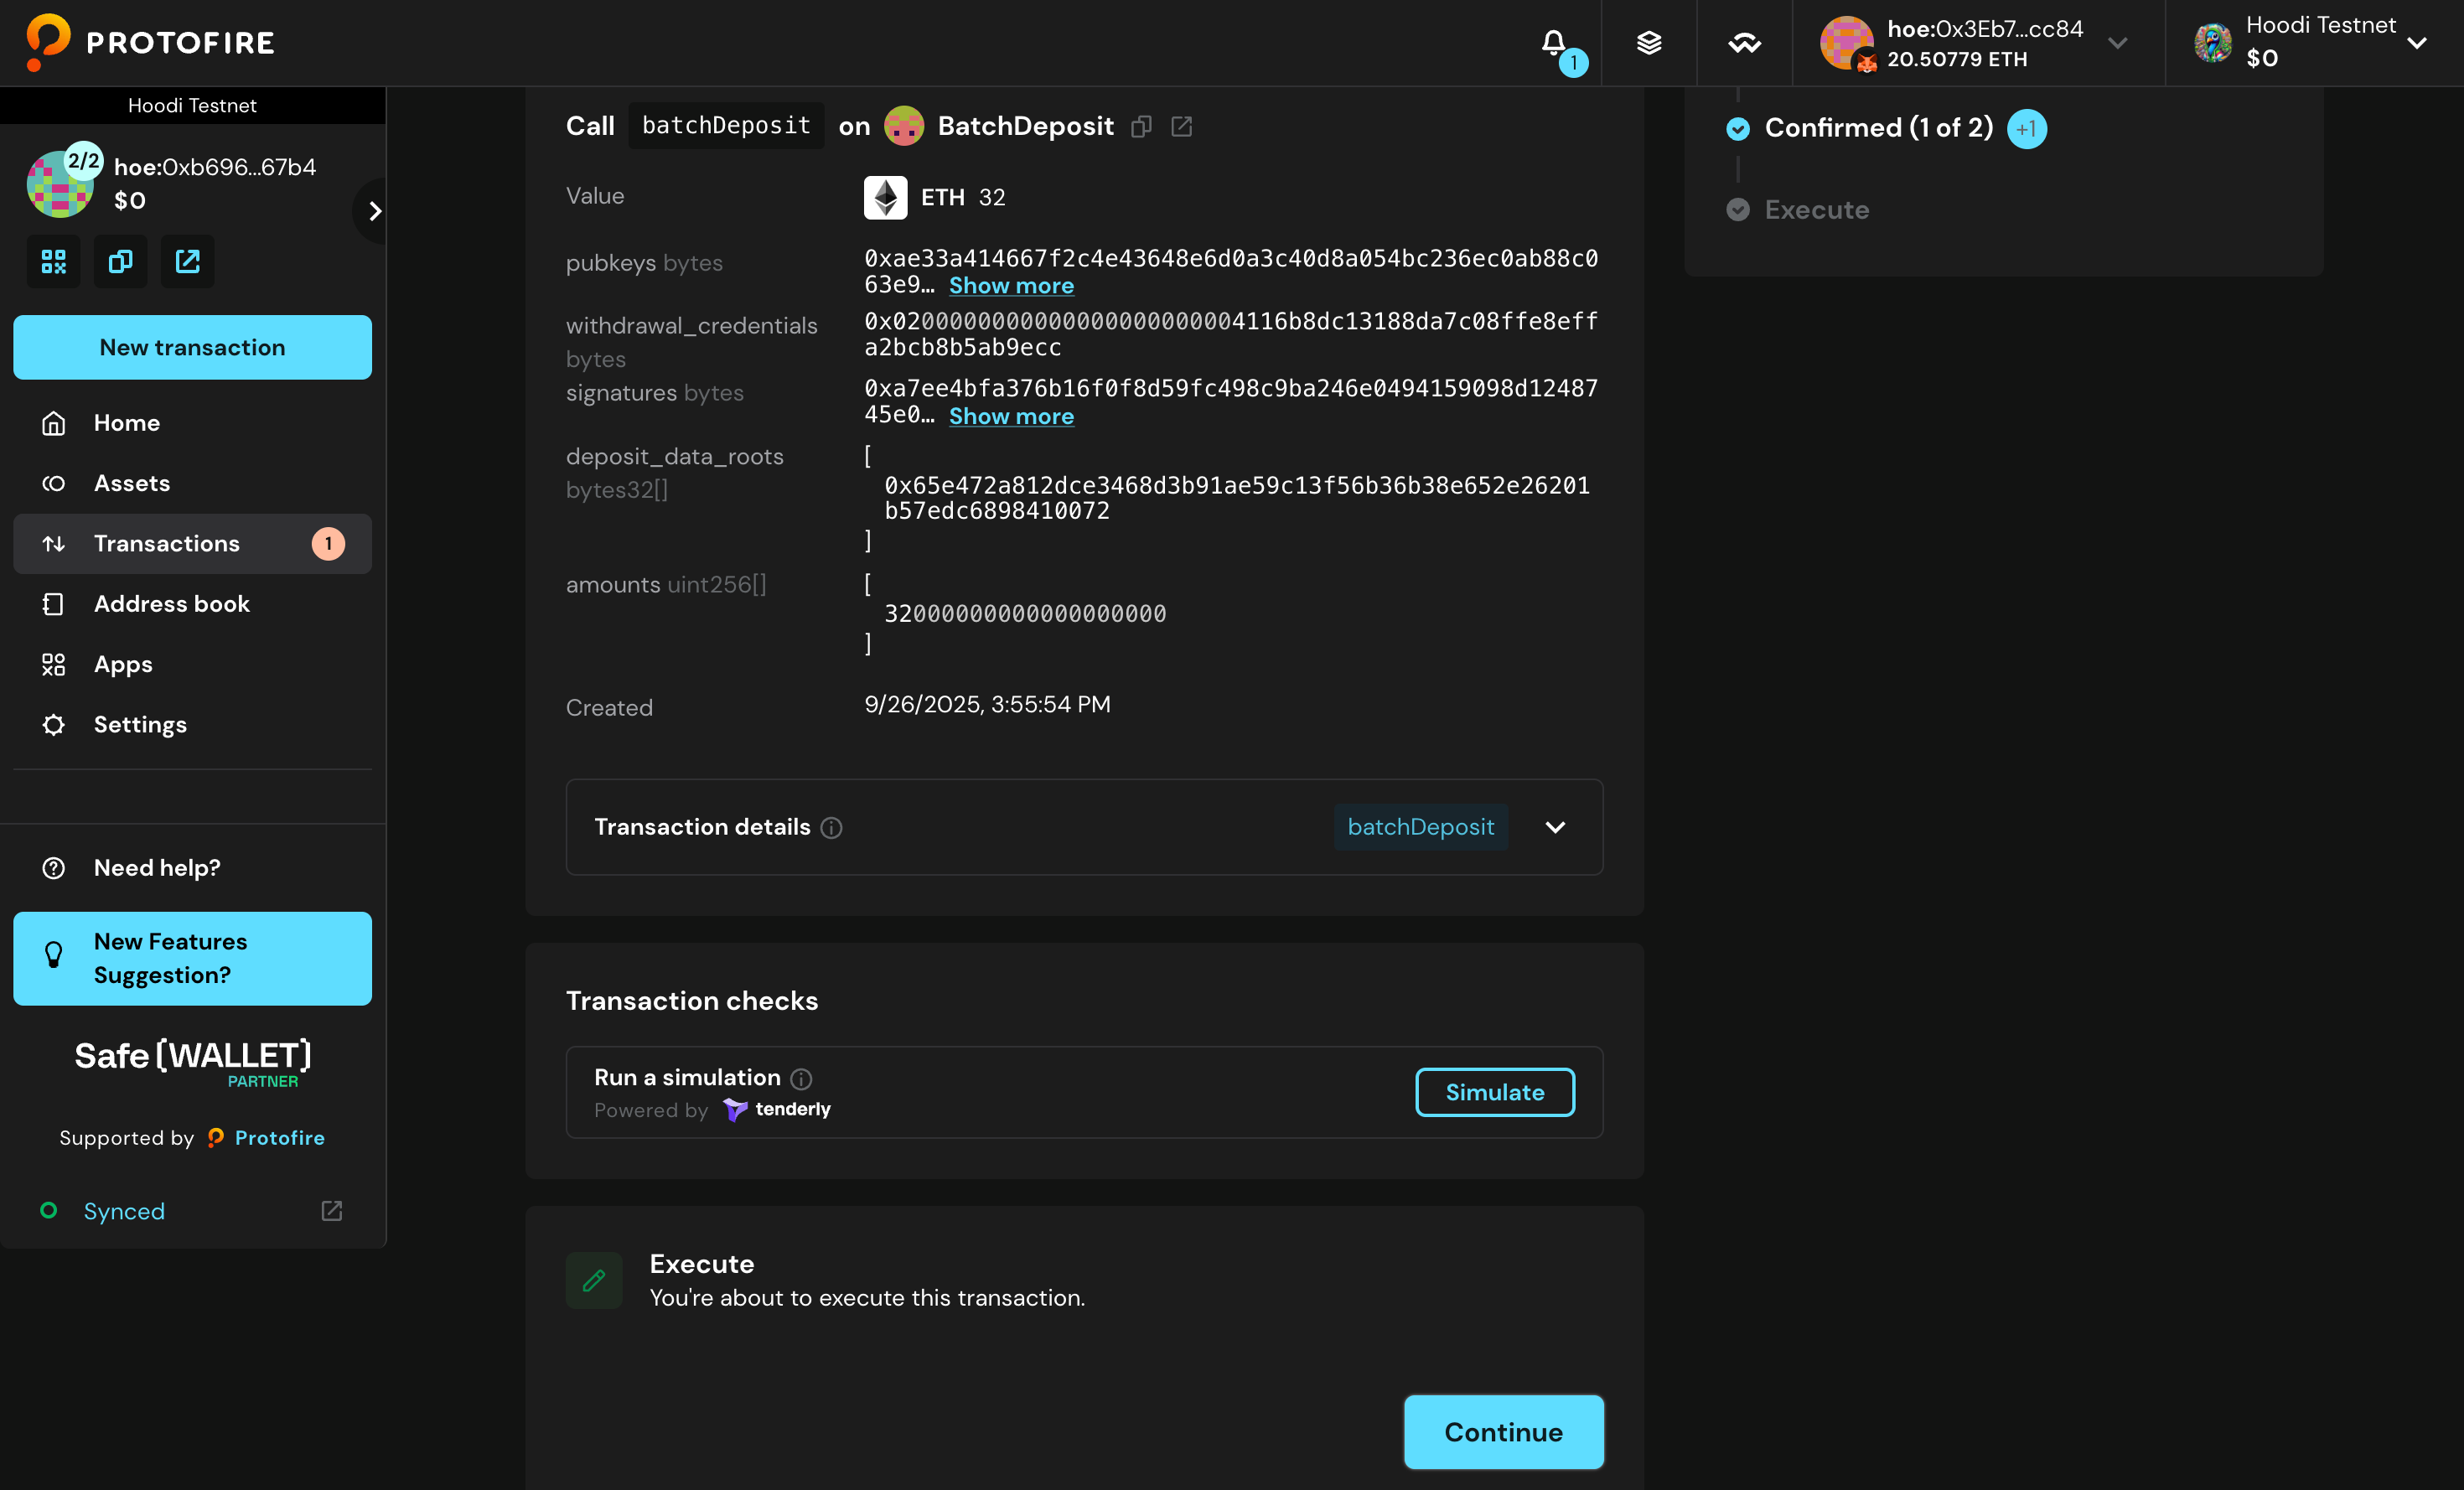
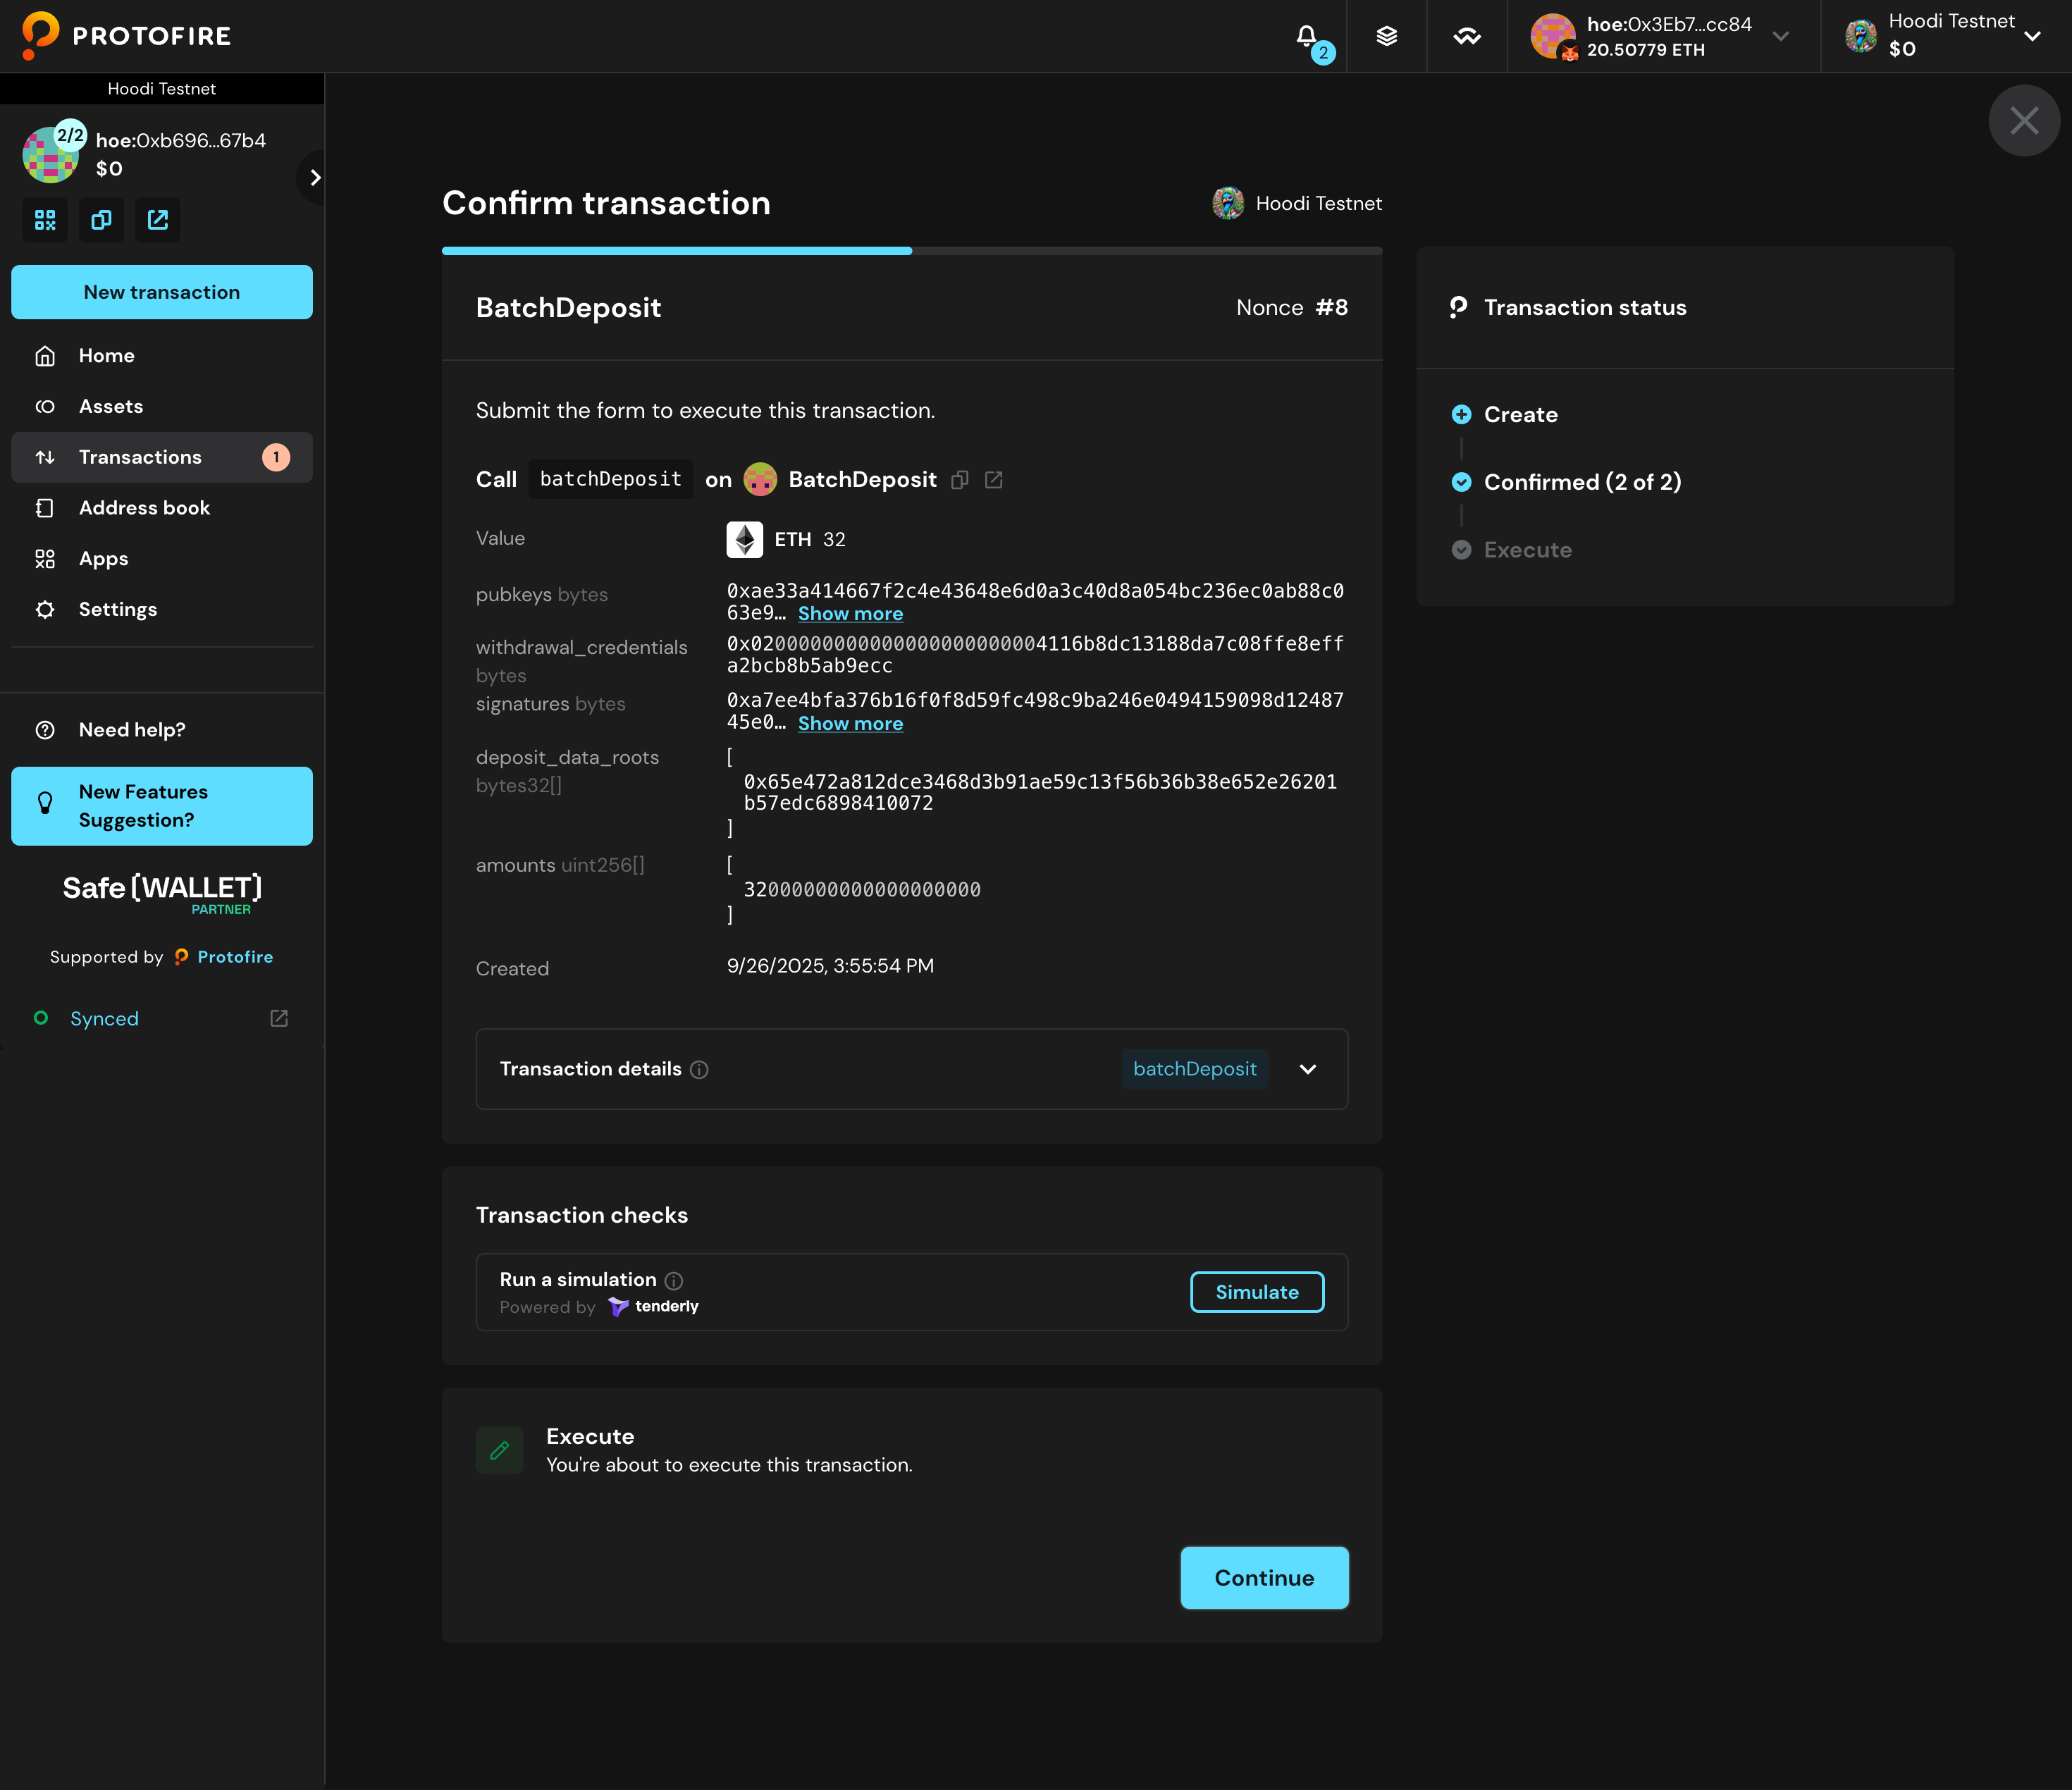
- Safe transaction submitted — it still requires the remaining owner signatures to meet the threshold (the number of owner signatures needed to execute) before it can be executed.
II. Sign the transaction
- Before proceeding, verify all the transaction details. When ready, click Confirm to approve the transaction.
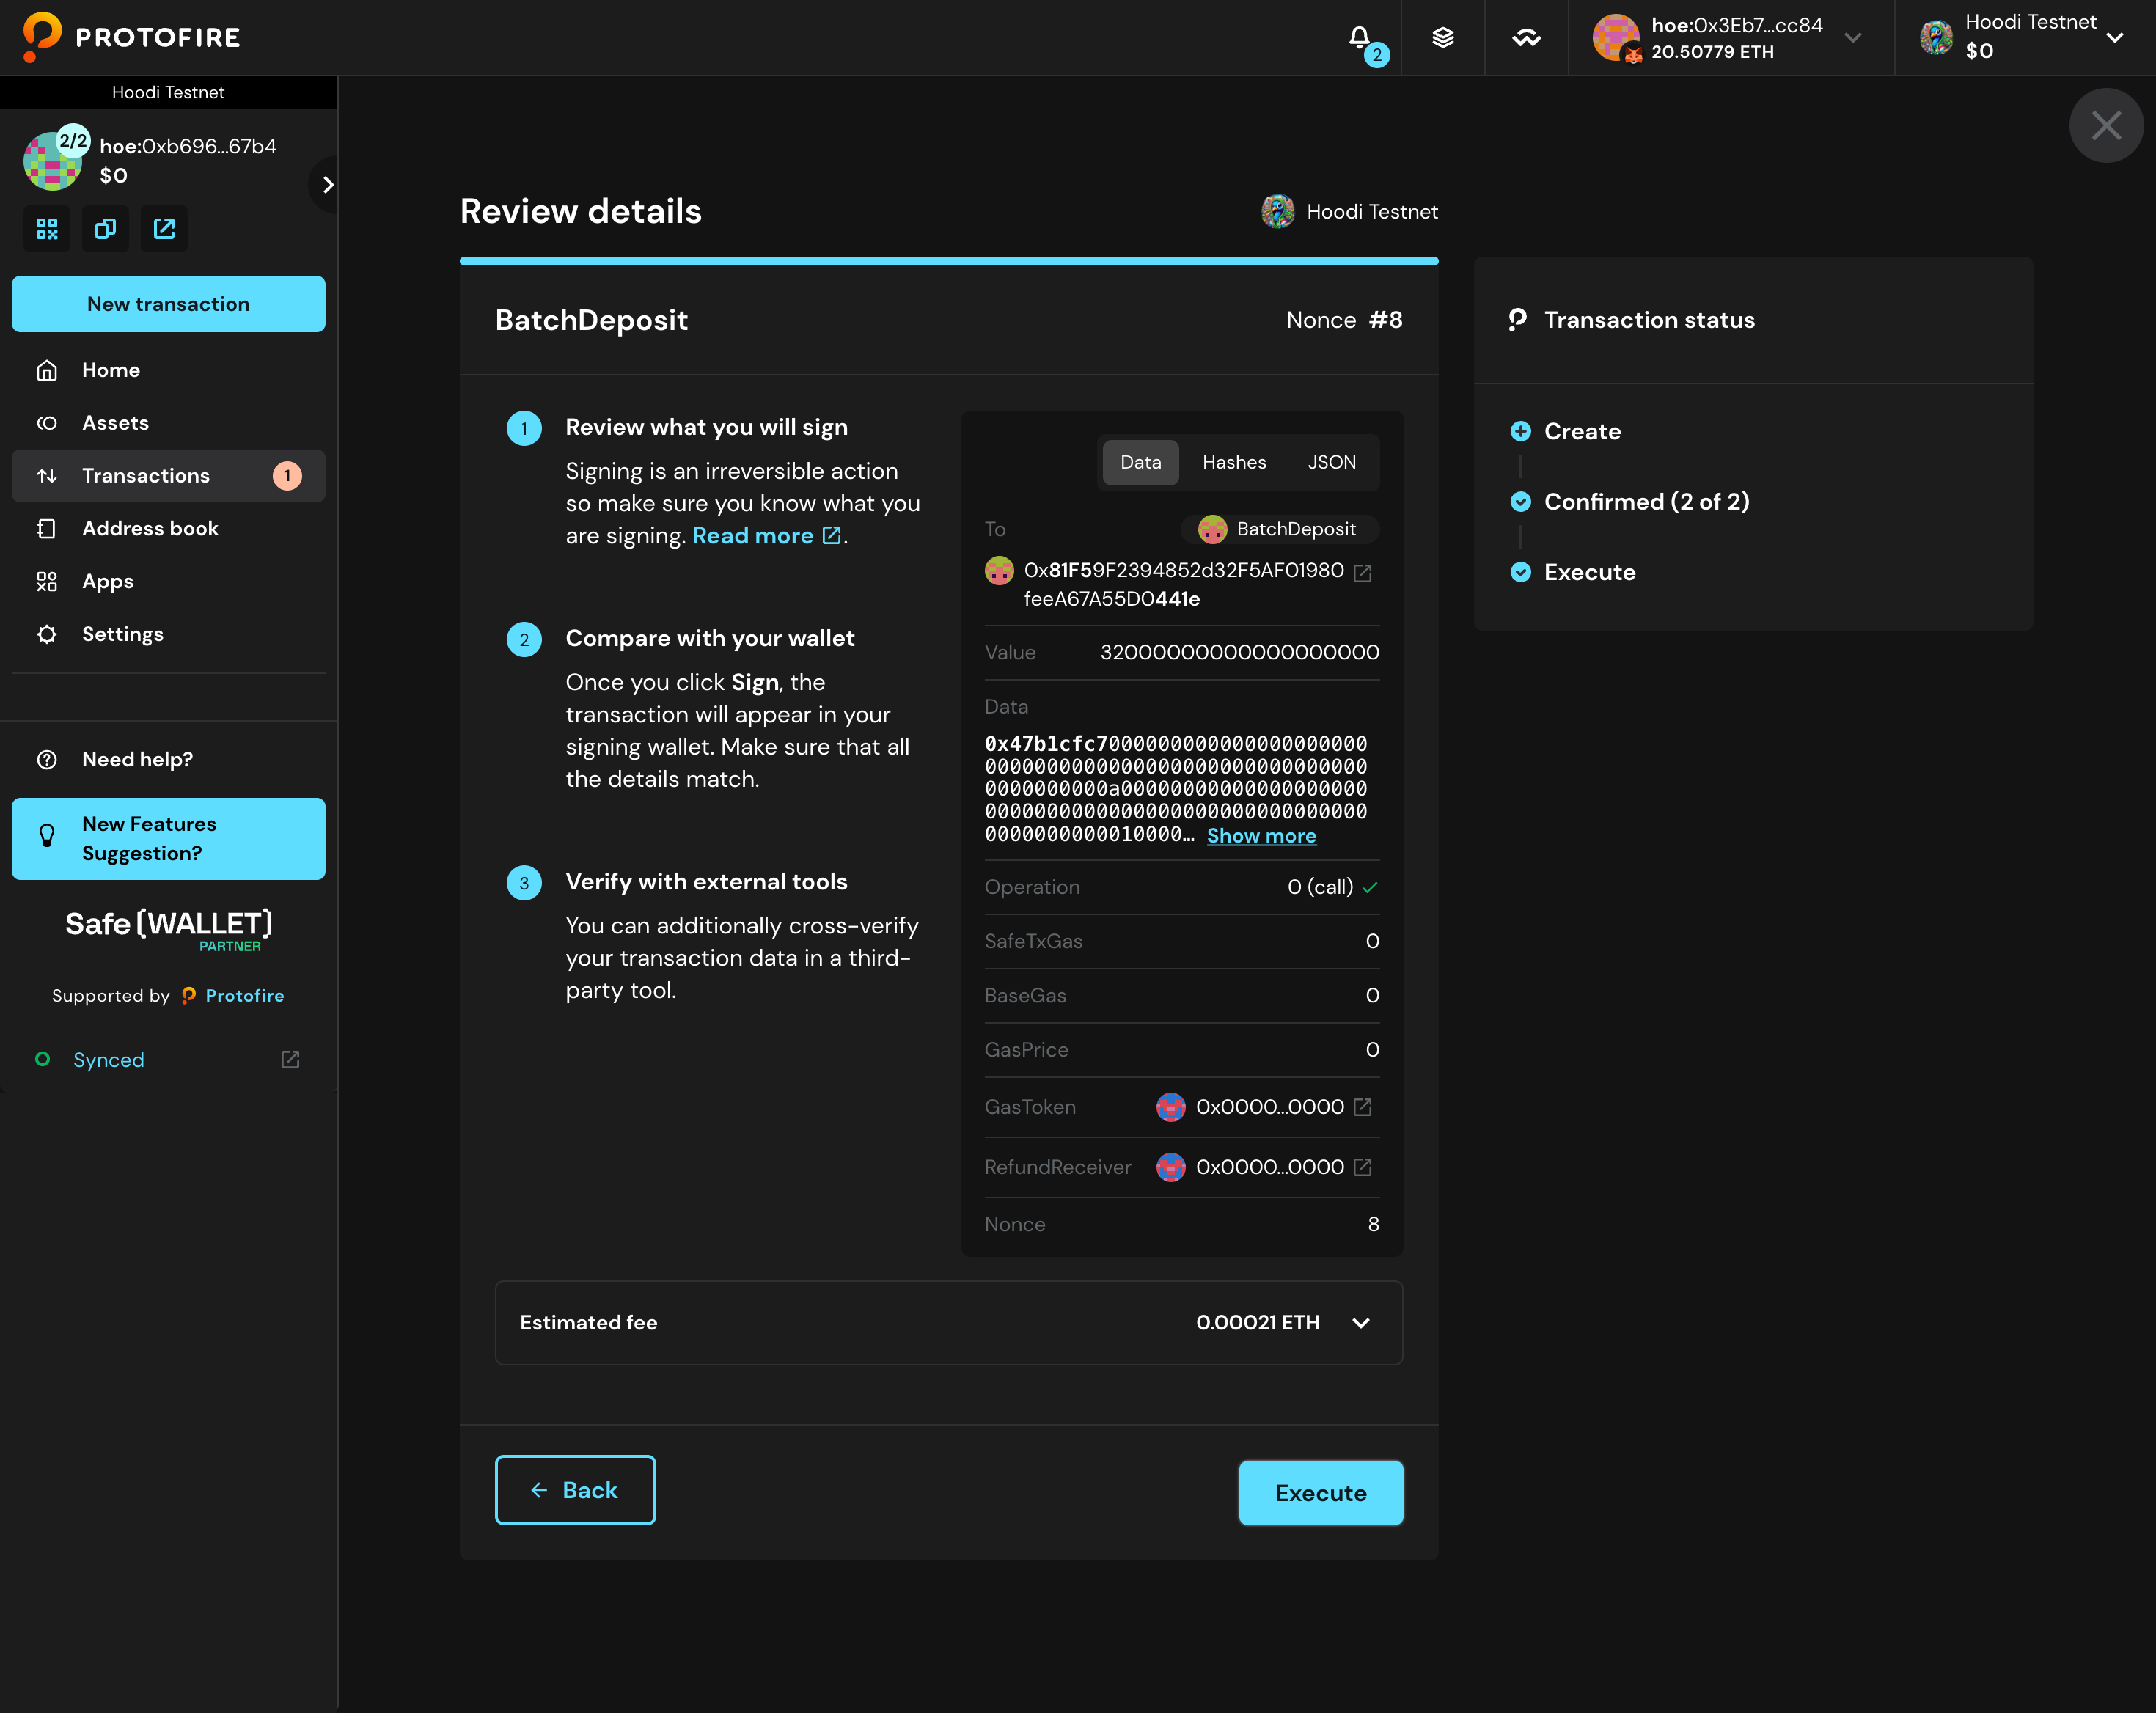
- Review all transaction details and select Continue.
- Select Sign to proceed.
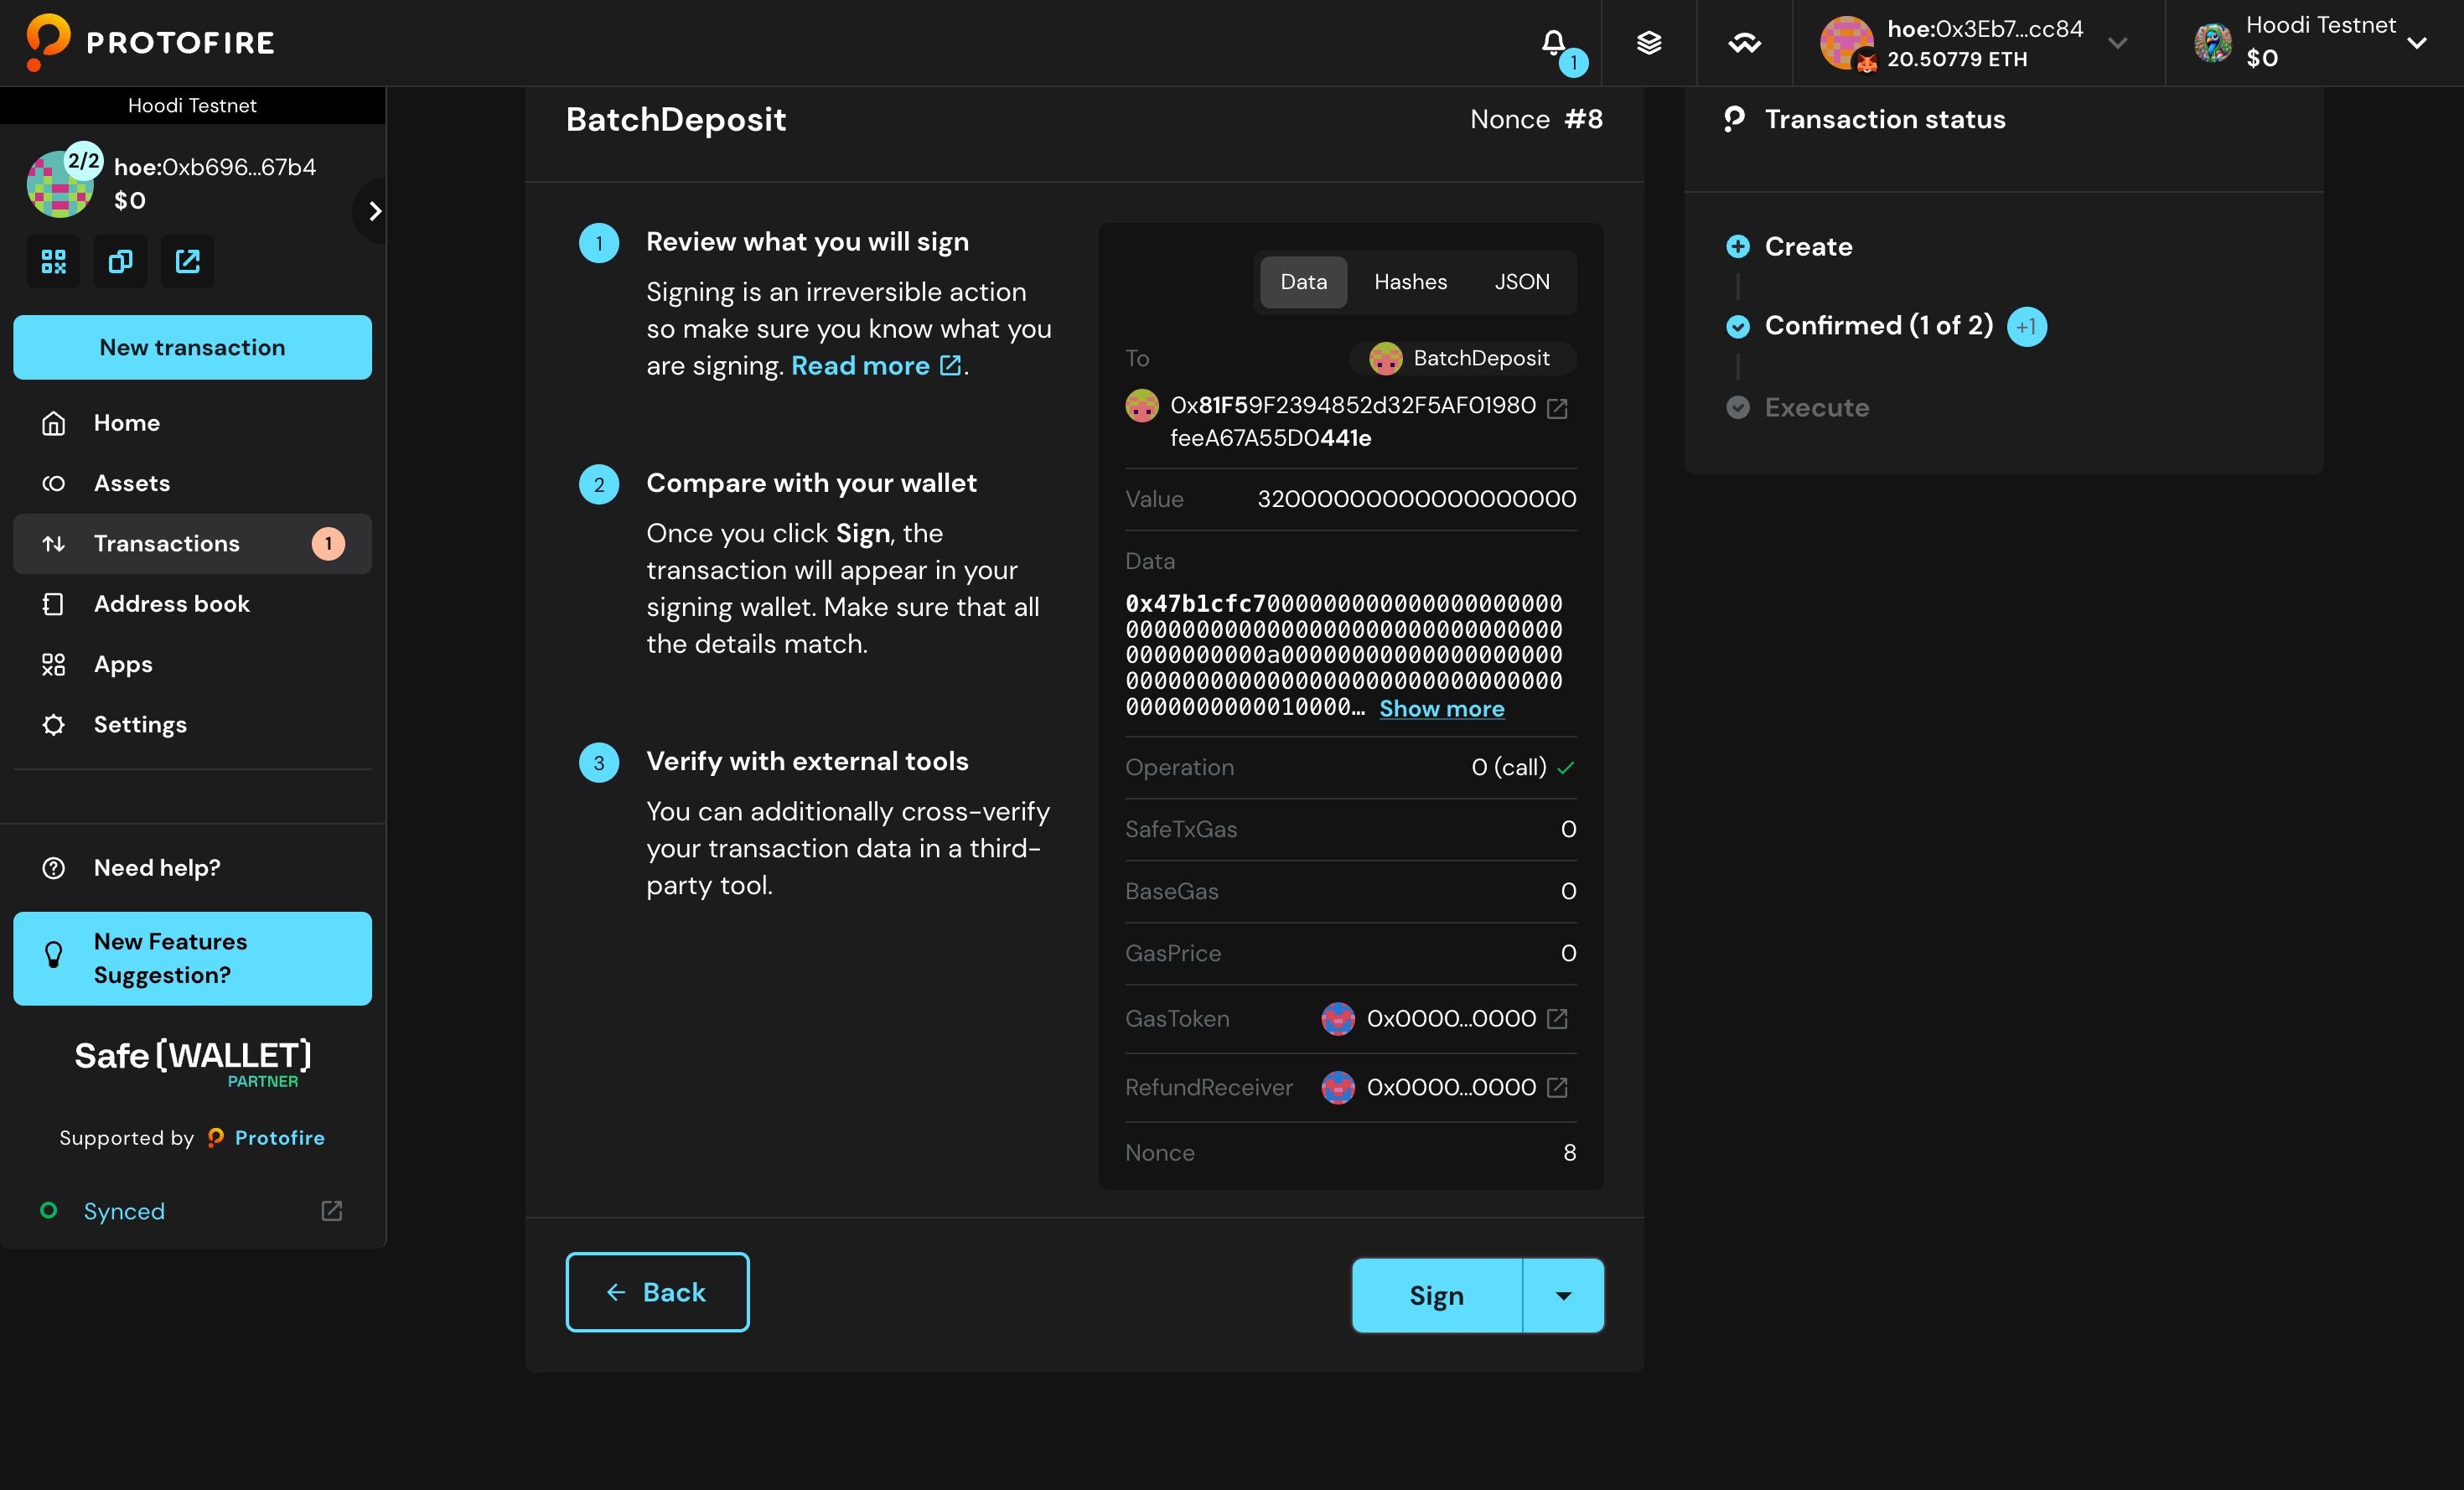
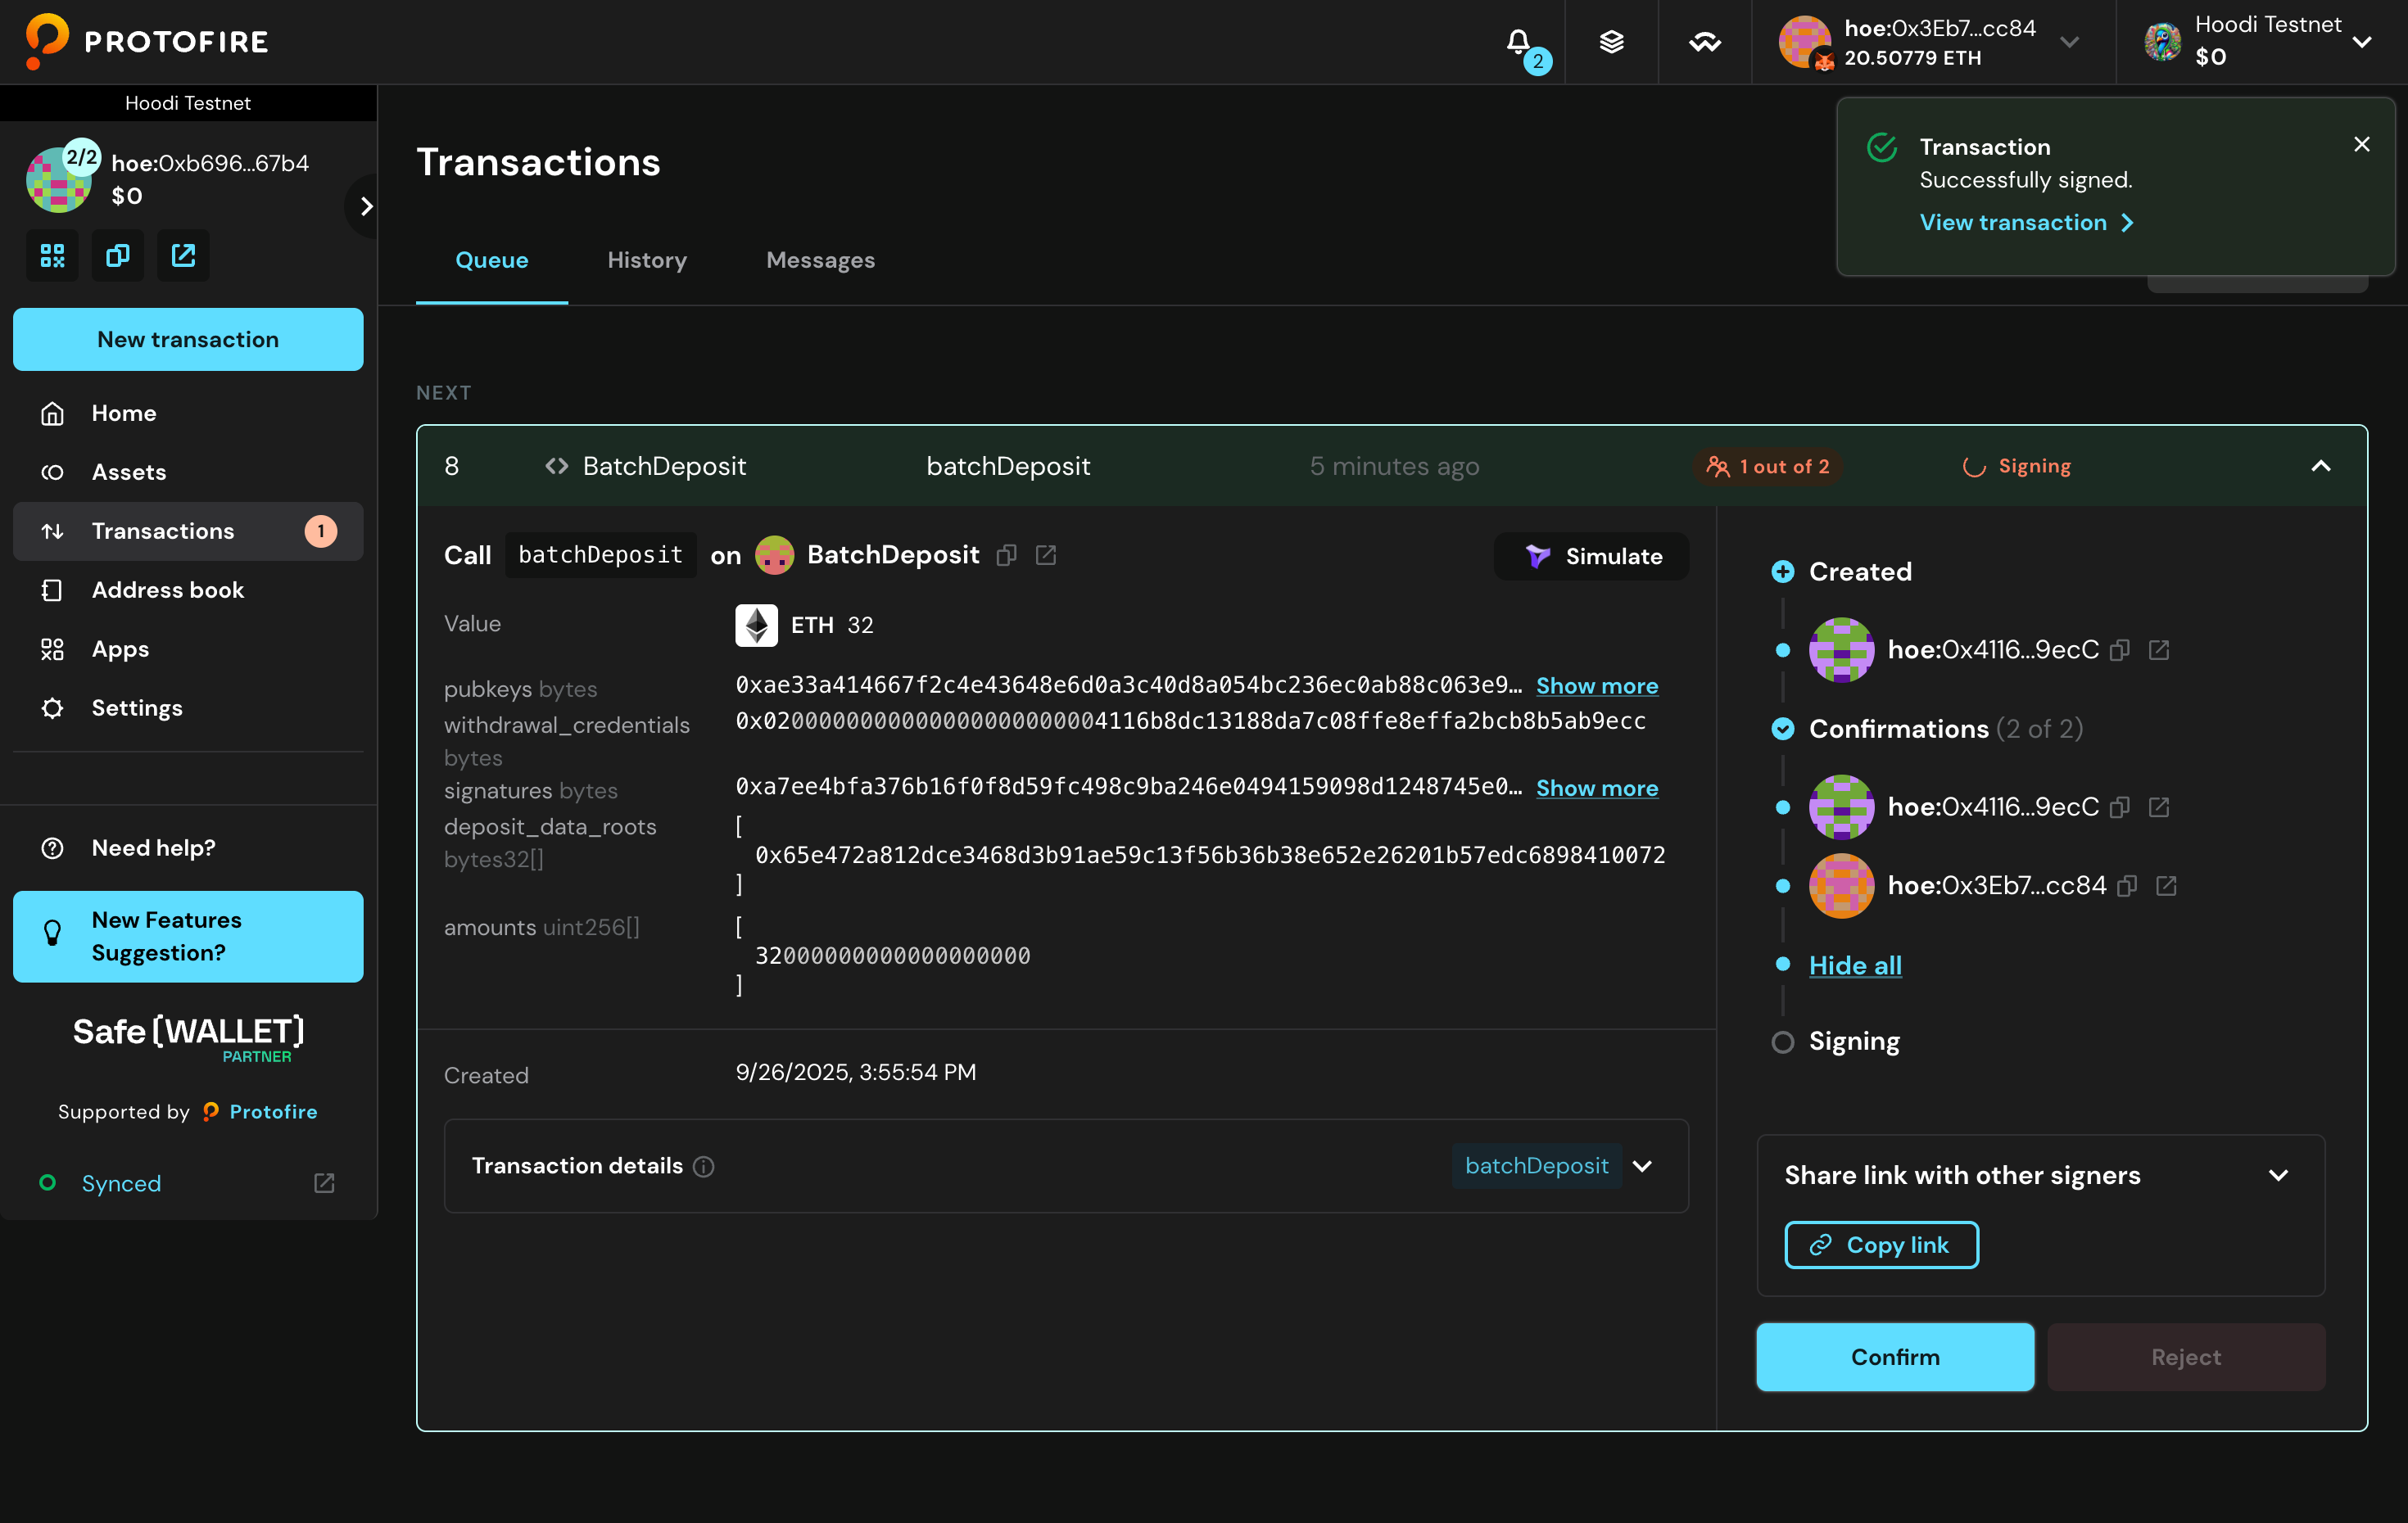
- Signed successfully.
III. Execute the transaction
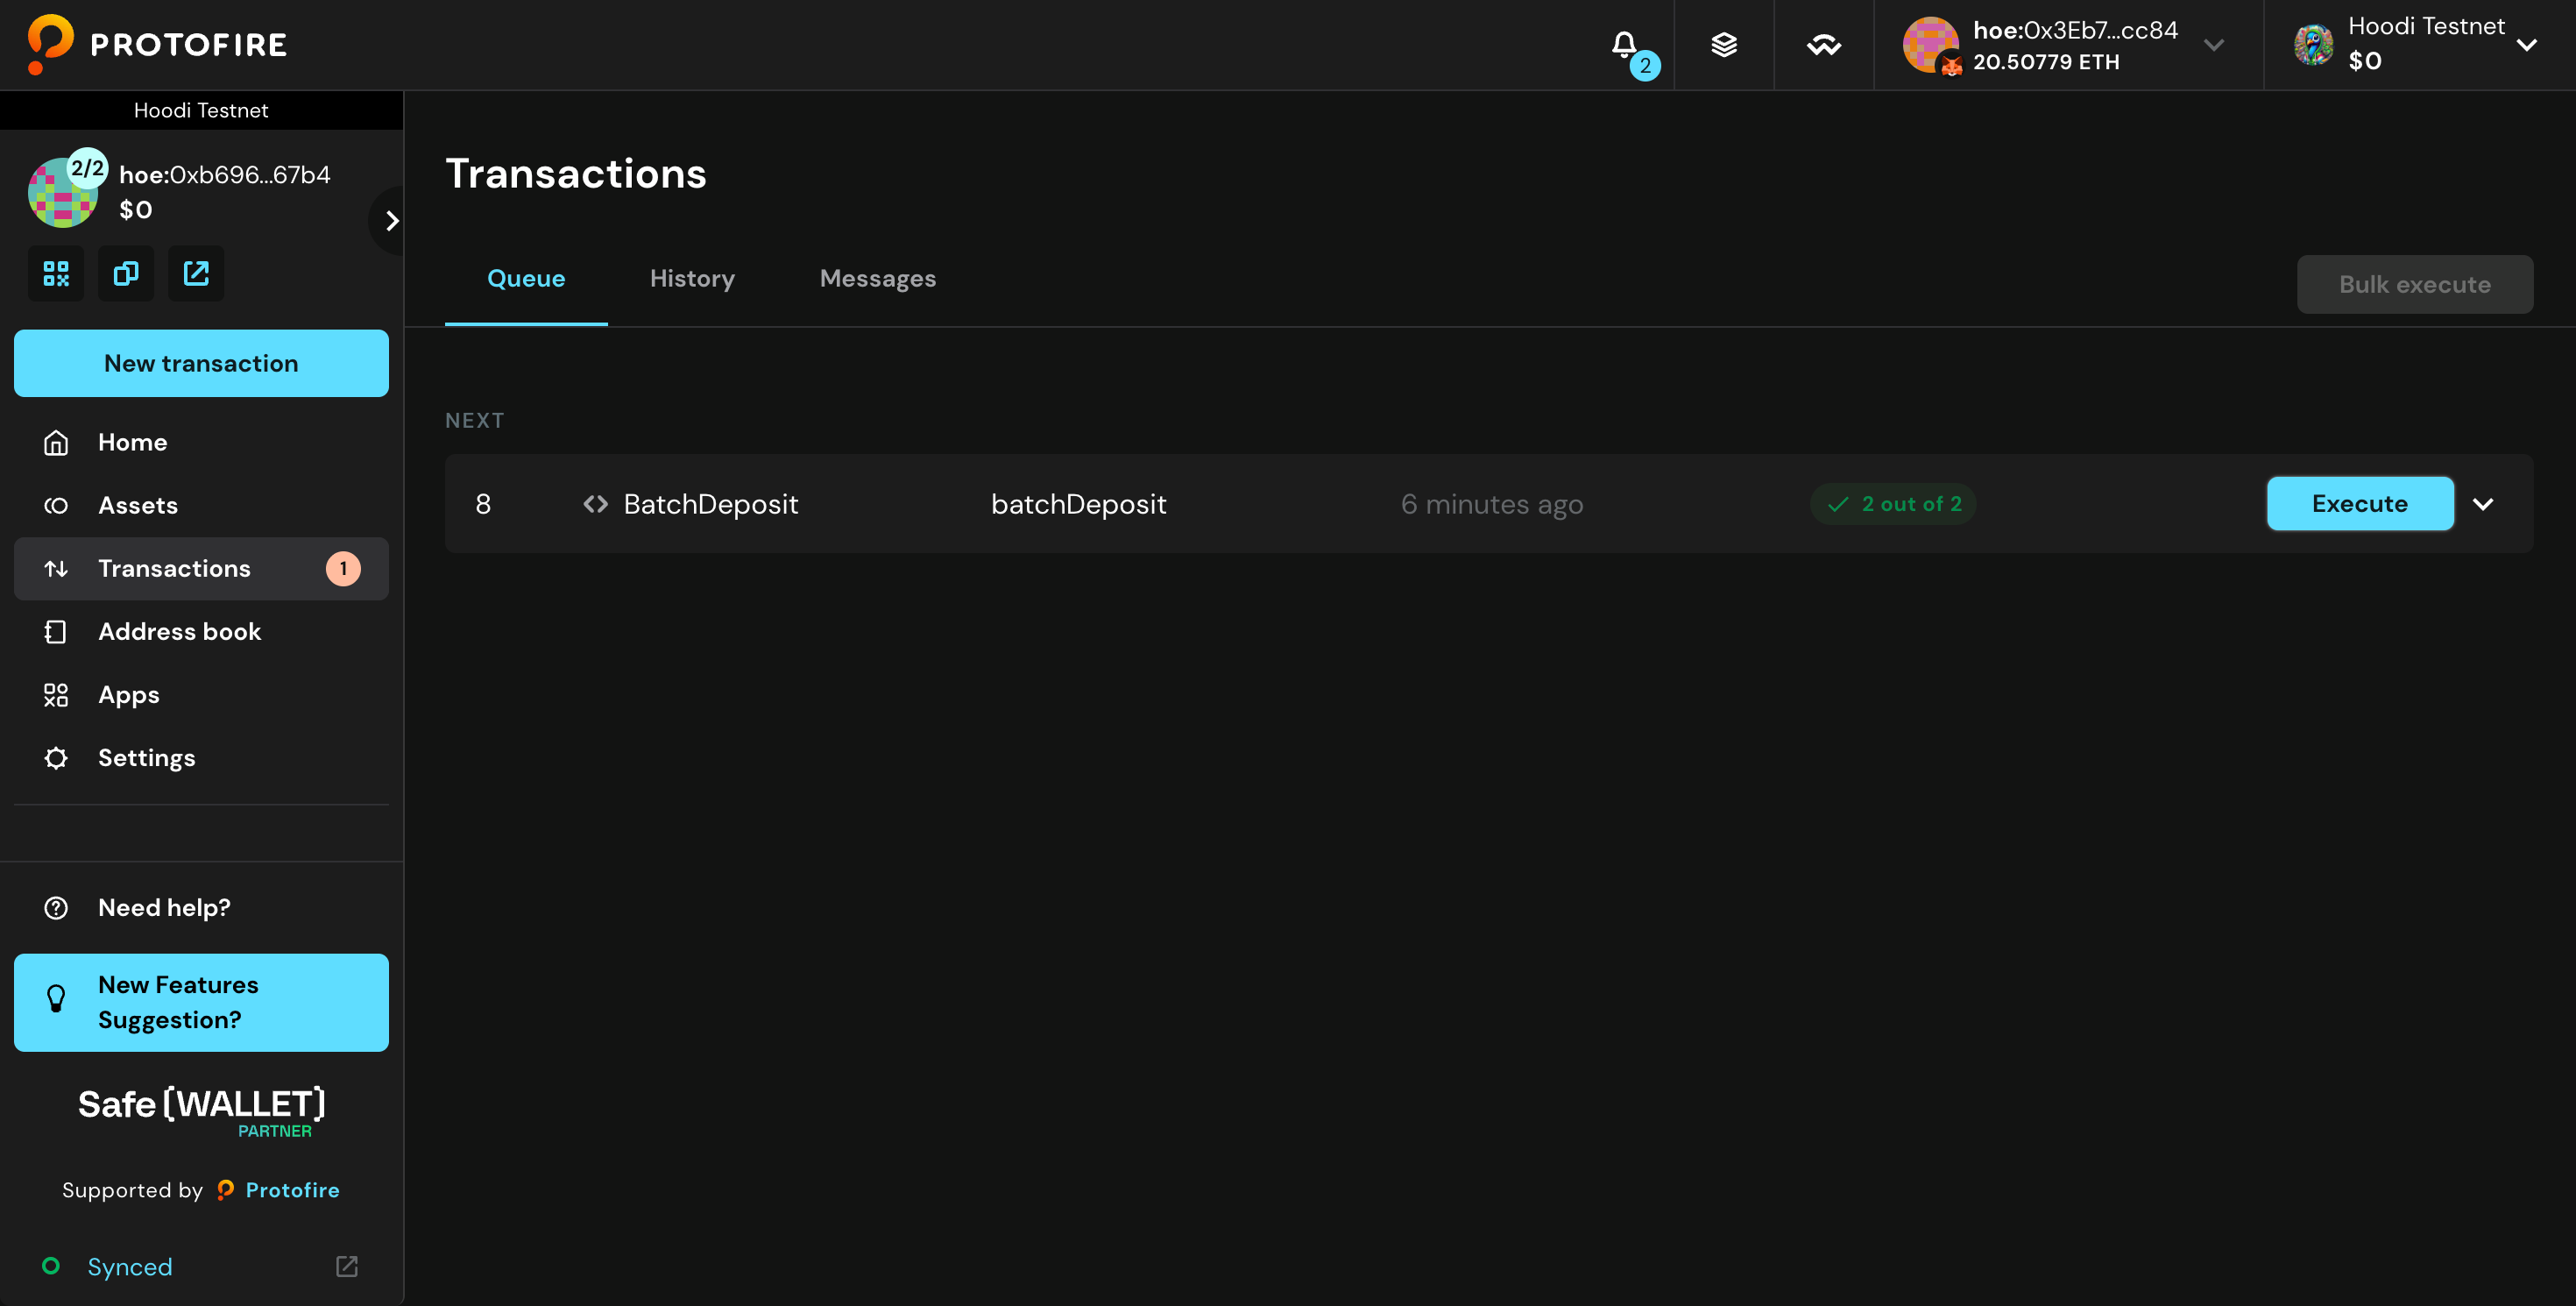
- Click Execute to begin the transaction execution process.
- Confirm the execution by clicking Continue when prompted.
- Finalize the execution by clicking Execute one more time to complete the transaction.
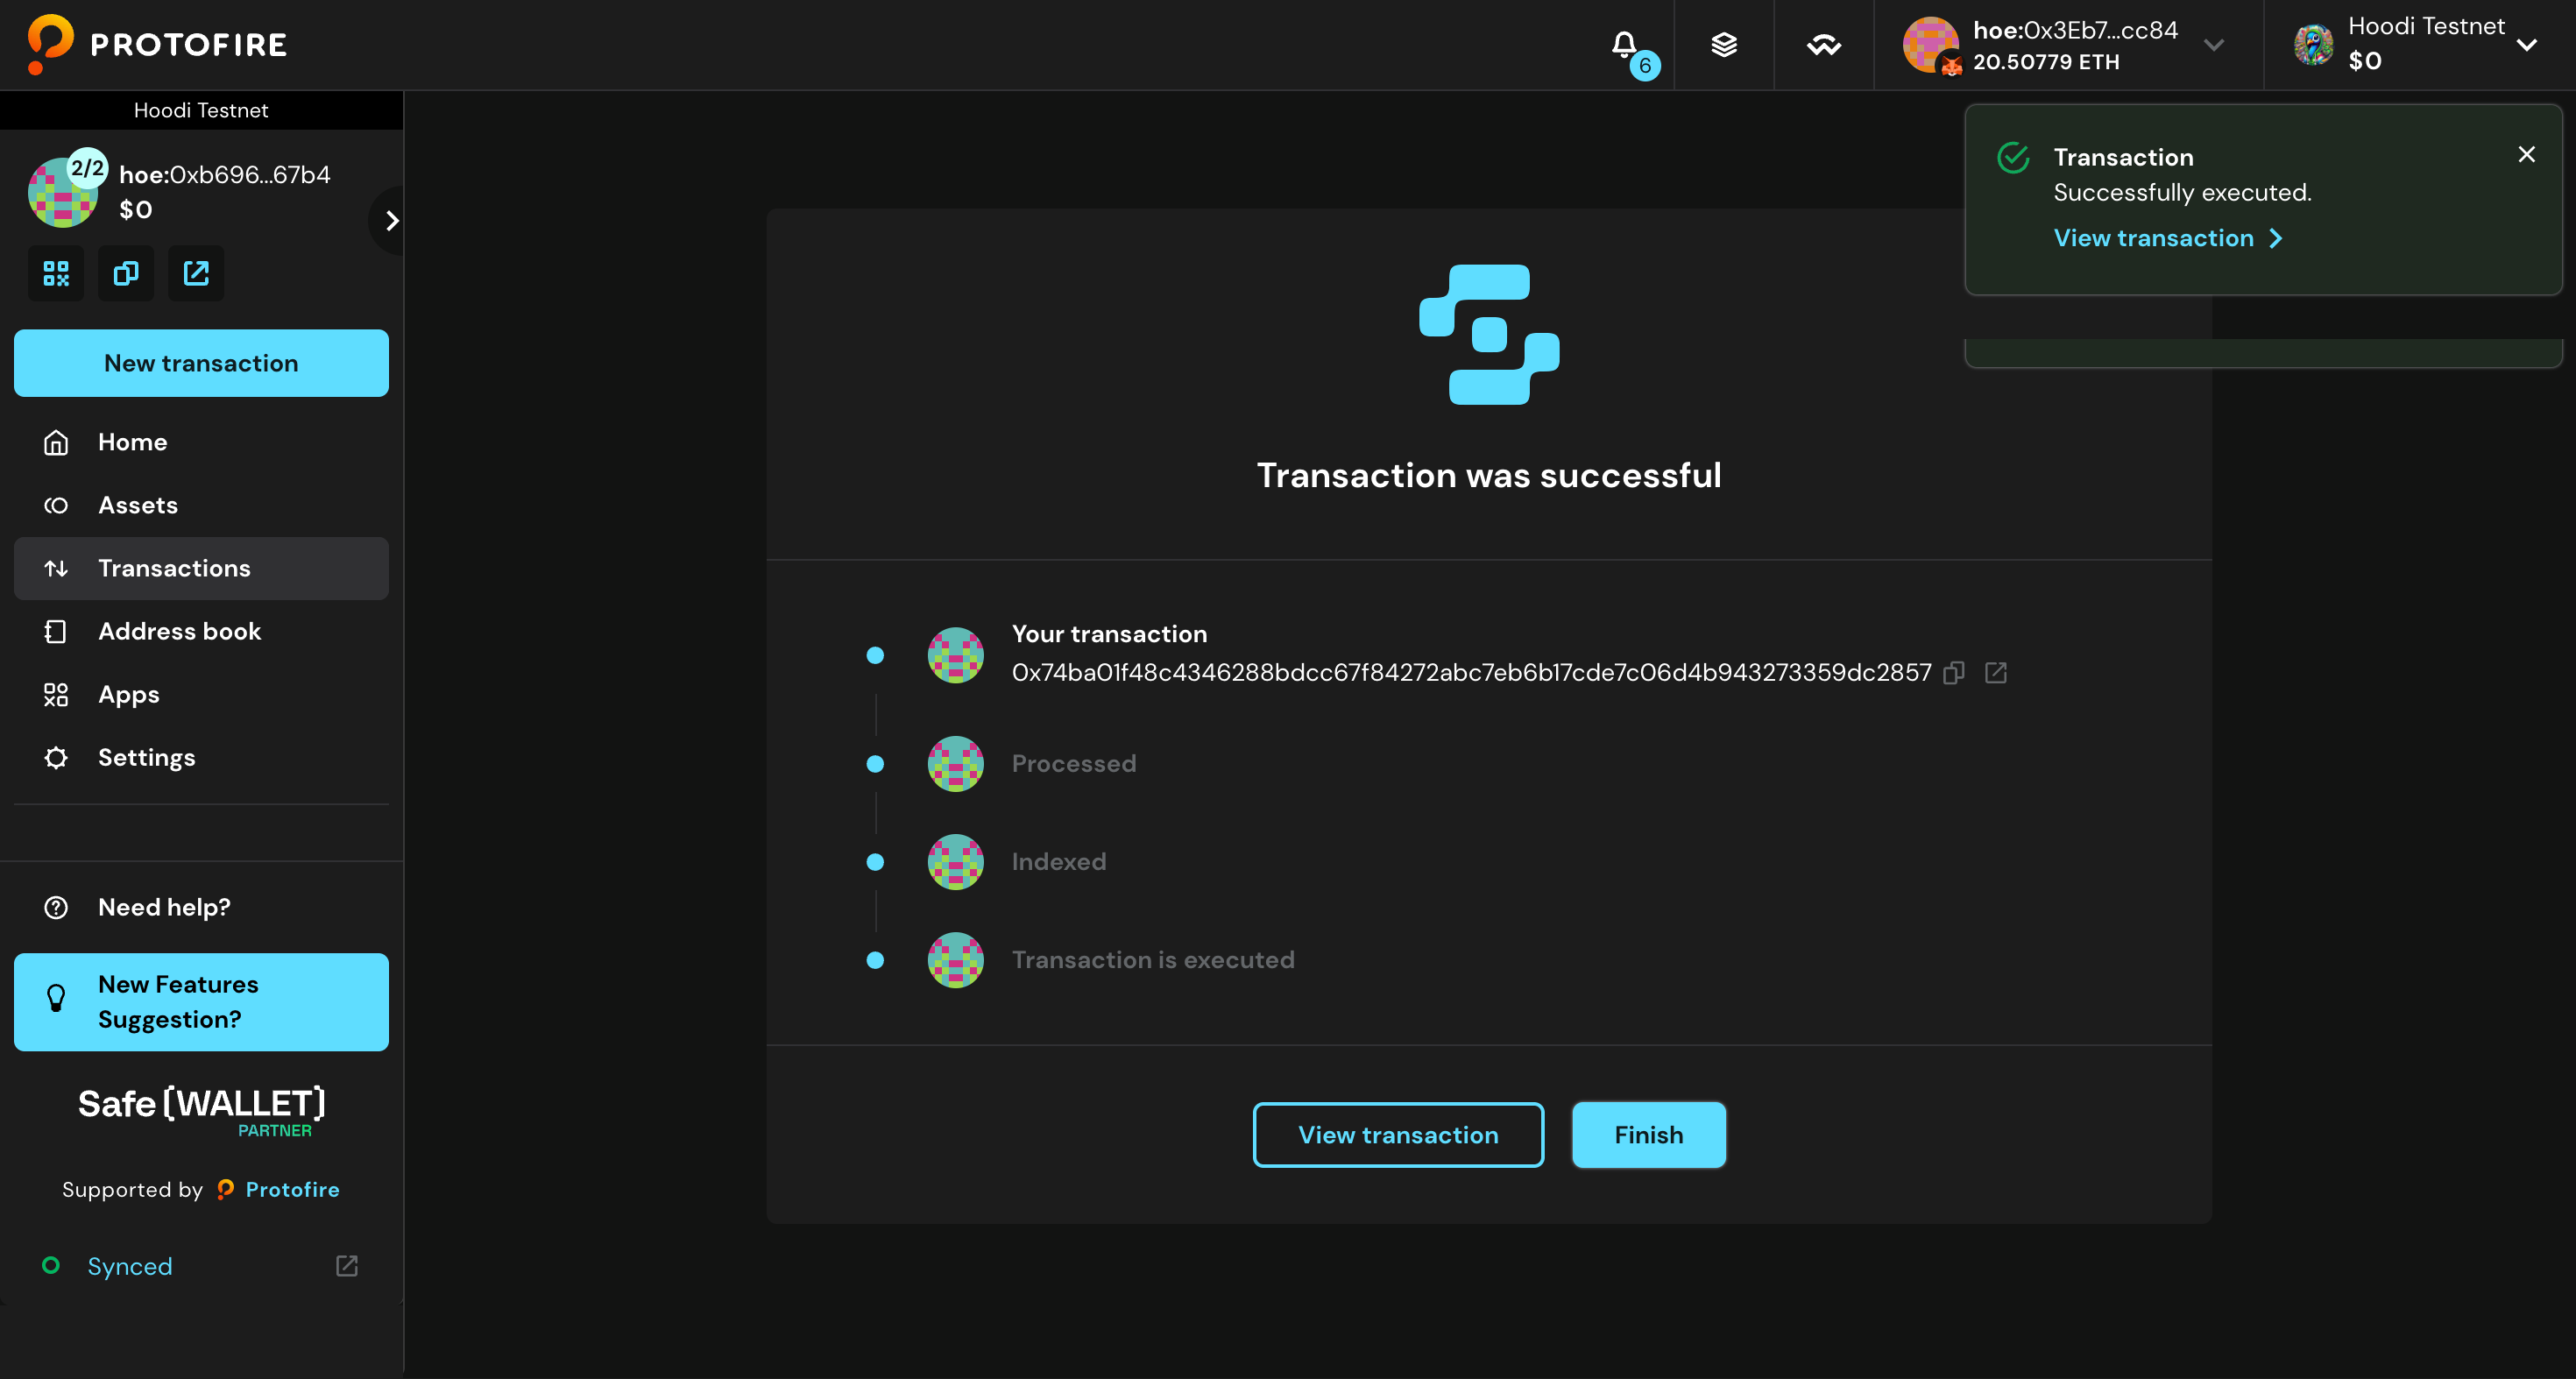
- The transaction is being processed.
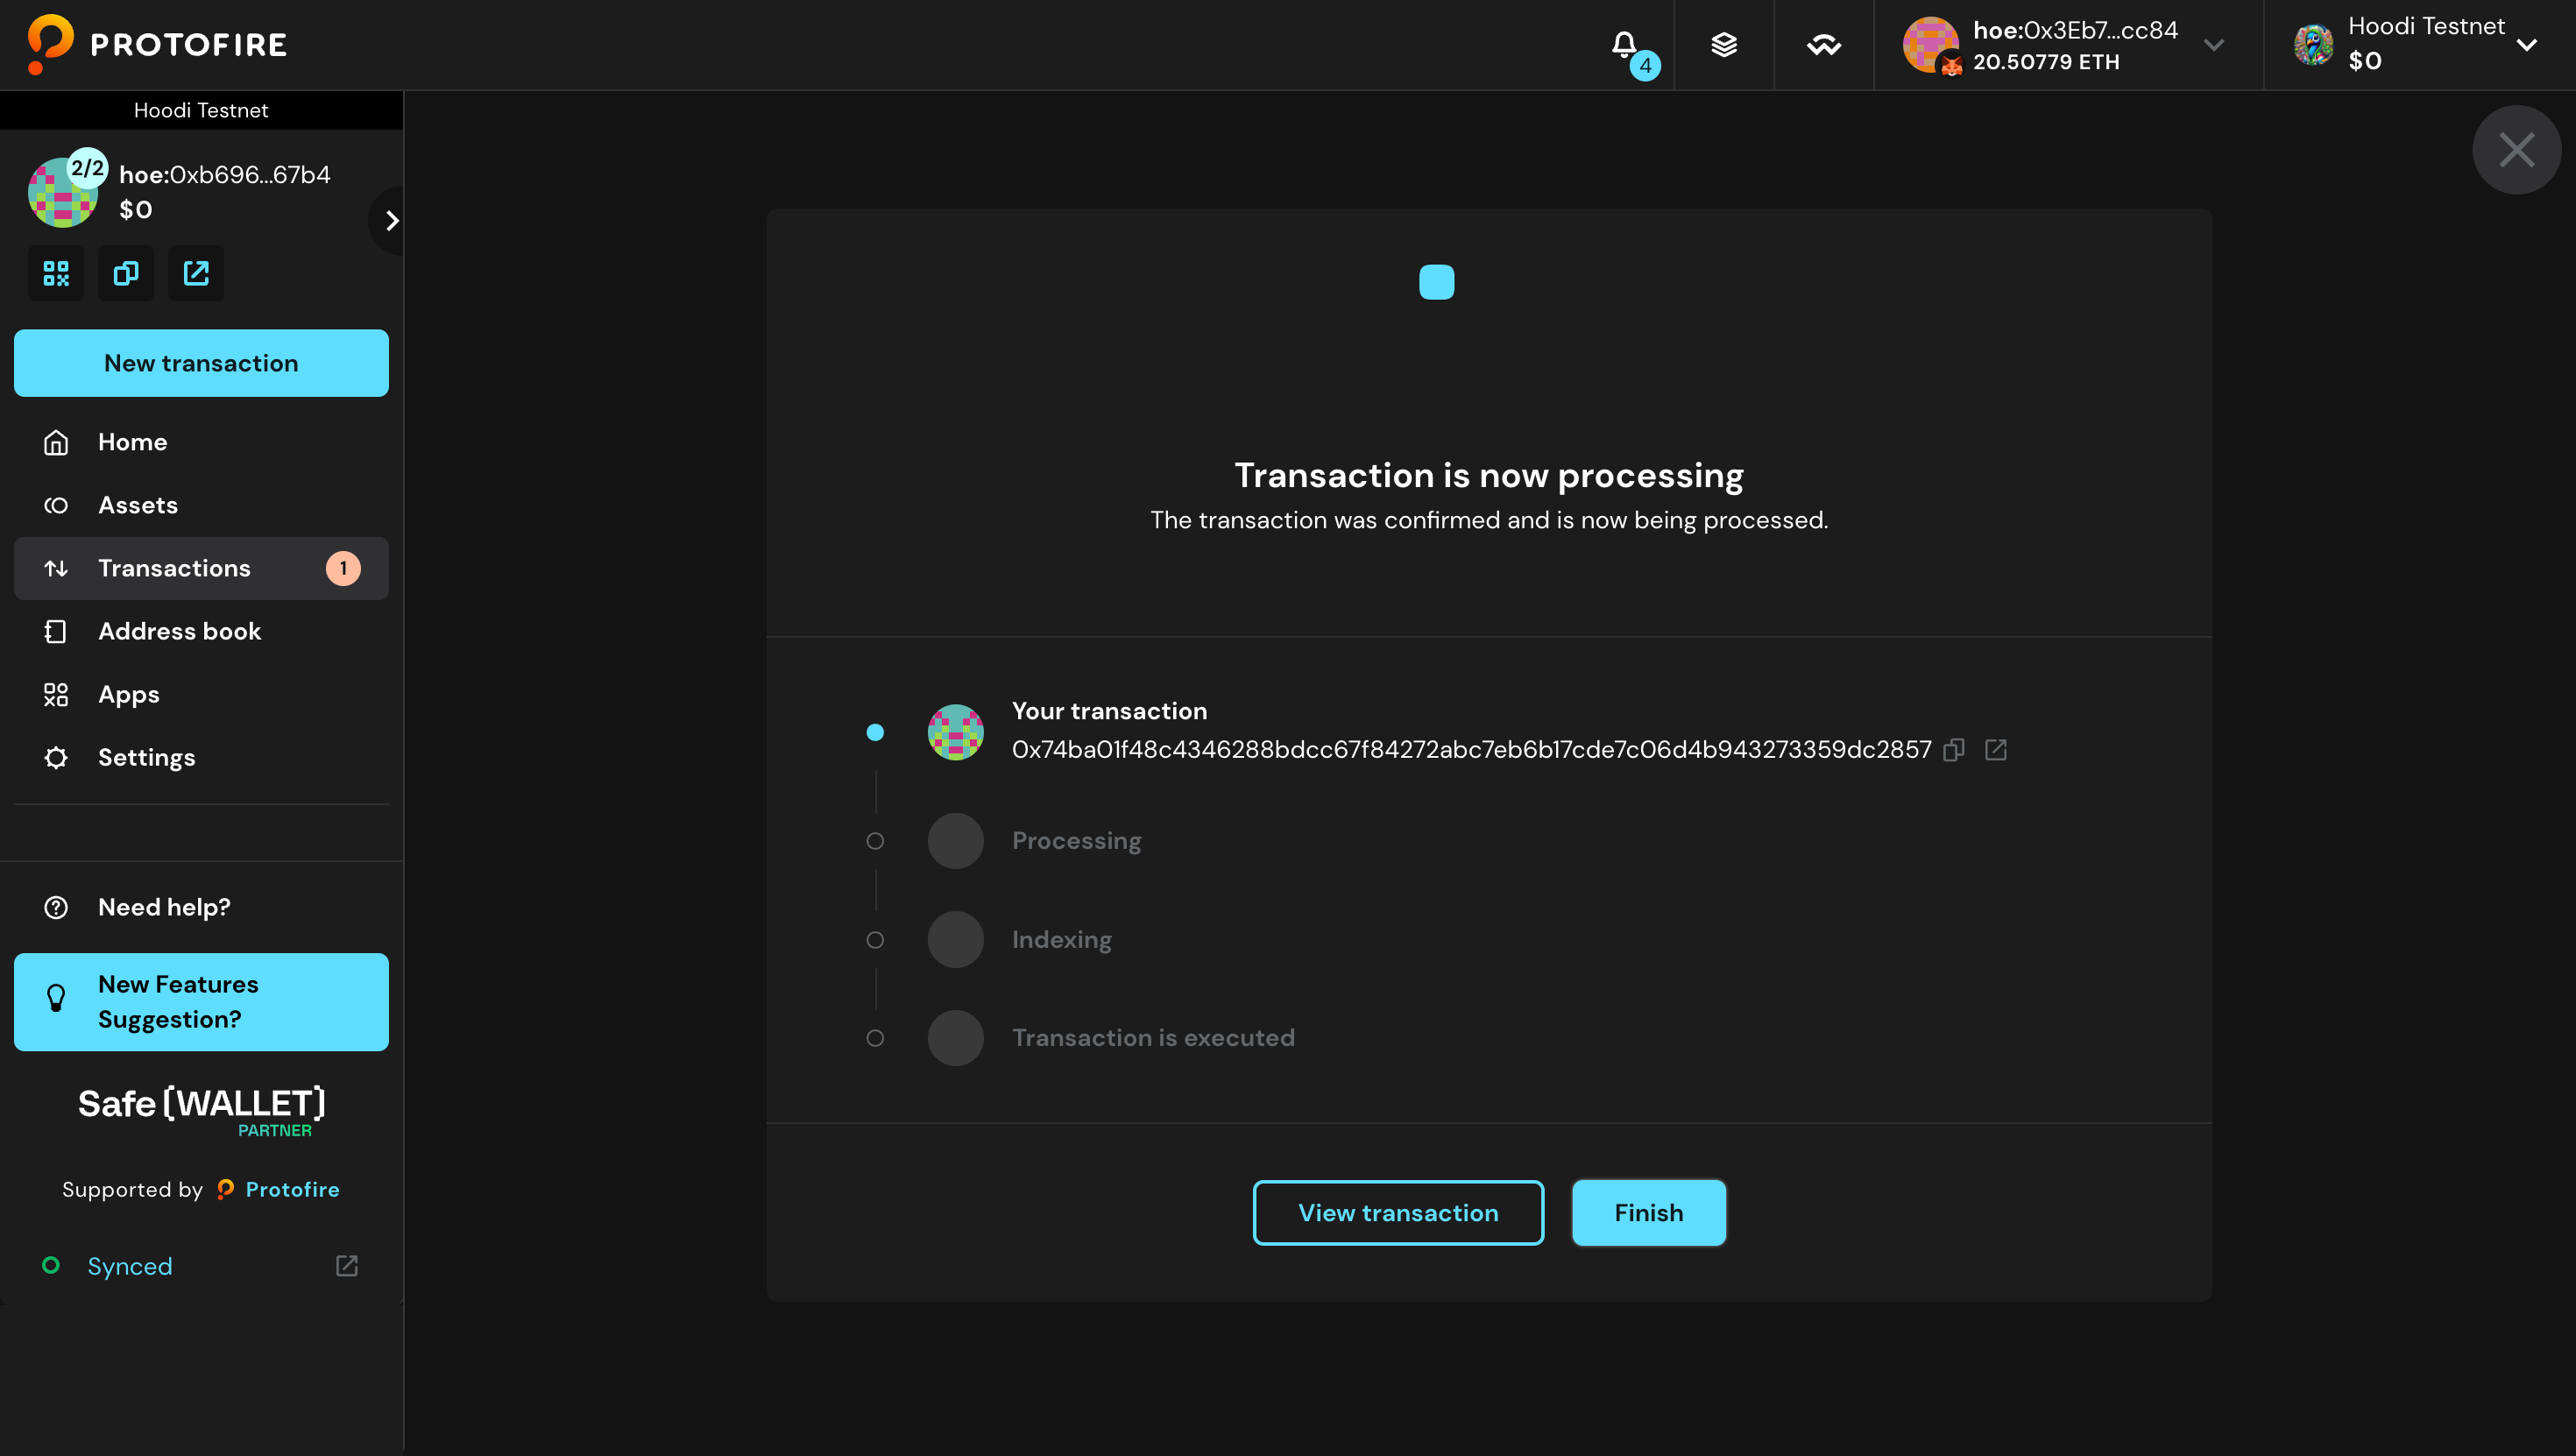
- Wait for a few seconds and you should see the following: