Ethereum Staking Tutorial For Institutions Using MPC Wallet
Overview
We will demonstrate the staking process for institutional investors using an MPC (Multi-Party Computation) wallet.
I. Get Access to Institutional API
Contact Dxpool Official to get your Institutional API Key. This key is essential for accessing our institutional staking services.
⚠️ Important
The API key cannot be shared with third parties. Especially, through Web Interfaces.
II. Create Deposit Data
Once ready, you can create deposit data using staking API.
  curl -X POST
      --url https://stake.dxpool.com/api/v1/validators/institution/deposits \
      --header 'accept: application/json' \
      --header 'Authorization: Api Key' \
      --data '{
        "chain": "mainnet",
        "eth1_withdrawal_address": "...",
        "num_validators": 1,
        "amount": 32
      }'"
Then, you will get a response like this:
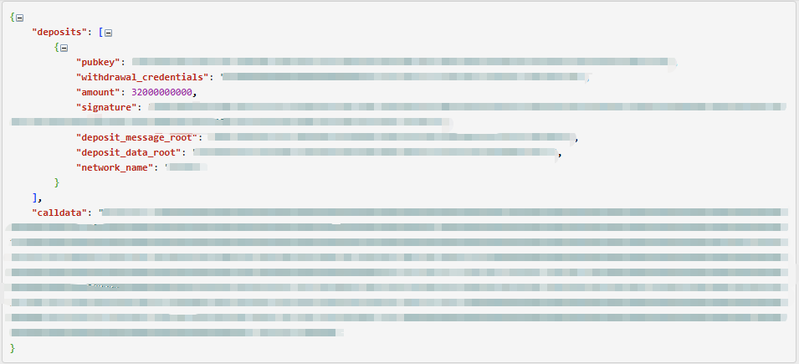
The calldata is designed to be used directly in a transaction to the Ethereum deposit contract. And meanwhile, you can encode the calldata yourself using the deposit data provided in the response.
III. Stake ETH Using MPC Wallet
Most MPC wallets support custom transaction data input. You can use the calldata obtained from the previous step to create a staking transaction.
In there, we will use Cobo wallet as an example.
💡 Note
you can also use other MPC wallets like Fireblocks, MpcVault, etc. And we can also provide scripts to help you stake using these wallets.
- Use Script to create a transaction
Here are example code using cobo sdk to create transaction:
func CreateTransaction(requestId string, apiClient *coboWaas2.APIClient, ctx context.Context,
    walletId, walletAddress string, depositContractAddress string, callData string) error {
    contractCallSource := coboWaas2.ContractCallSource{
    CustodialWeb3ContractCallSource: coboWaas2.NewCustodialWeb3ContractCallSource(coboWaas2.CONTRACTCALLSOURCETYPE_ORG_CONTROLLED,
        walletId, walletAddress)}

    evmContractCallDest := coboWaas2.NewEvmContractCallDestination(coboWaas2.CONTRACTCALLDESTINATIONTYPE_EVM_CONTRACT,
        depositContractAddress, callData,
    )

    contractCallDestination := coboWaas2.ContractCallDestination{EvmContractCallDestination: evmContractCallDest}

    contractCallParams := *coboWaas2.NewContractCallParams(
    requestId, contractCallSource, contractCallDestination)

    if _, _, err := apiClient.TransactionsAPI.CreateContractCallTransaction(ctx).
        ContractCallParams(contractCallParams).Execute(); err != nil {
        fmt.Printf("failed to call `CreateContractCallTransaction`: %v\n", err)
        return err
    }

    return nil
}
you can find more sdk use details in Cobo SDK and more api details in Cobo API Reference.
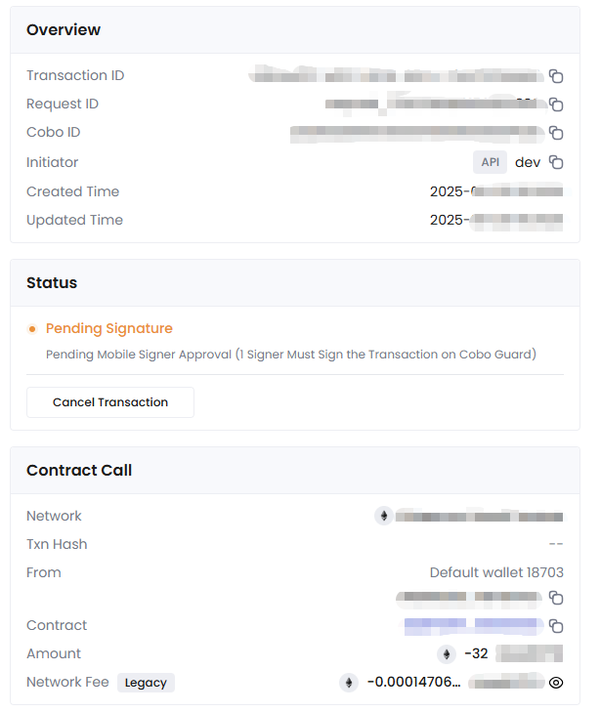
- Confirm the transaction using MPC signing
When you create the transaction, you will receive a signing request in your MPC wallet. Confirm the transaction to sign it.
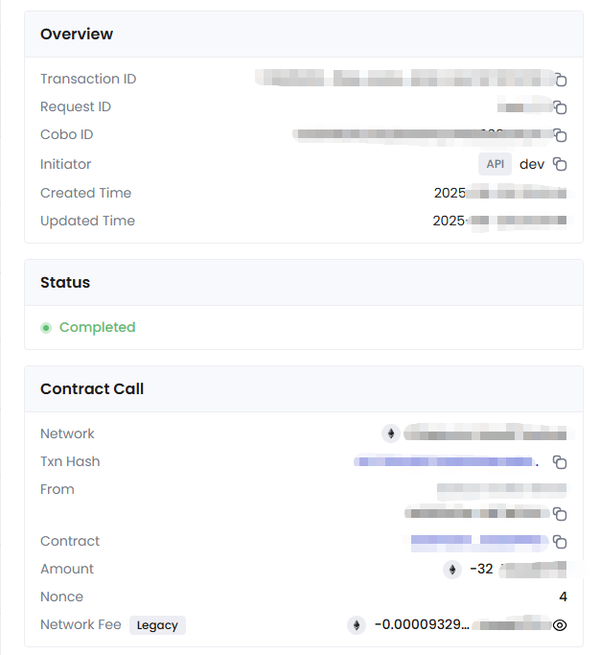
When the transaction is signed, you will see the transaction is completed.
💡 Note
The Mpc wallet have more advanced features, like setting up Risk Control Policies, setting up multi-signers etc. Please refer to the wallet documentation to set up these features.
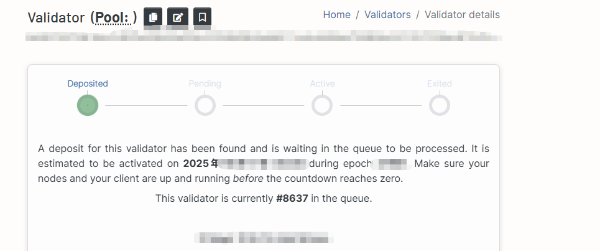
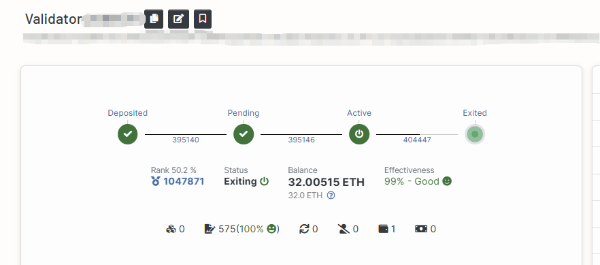
Then you can check your validator status on Beaconcha.in
IV. To Unstake with Us
In order to retrieve the complete validator balance, it is necessary to initiate a complete exit first.
The greater the number of validators exiting, the longer the waiting period for a validator.
You can initiate the exit process using Institution staking API.
  curl -X POST
      --url https://stake.dxpool.com/api/v1/validators/institution/exit \
      --header 'accept: application/json' \
      --header 'Authorization: Api Key' \
      --data '{
        "network_type": "mainnet",
        "validators": ["0x..."]
      }'
Then, you will get a response like this:

After that, you can notice your validator status changes to "exiting" on Beaconcha.in.
Once the exit process is complete, your staked ETH and rewards will be available for withdrawal to your specified withdrawal address.