Avalanche Staking Tutorial
How to stake $AVAX (Avalanche)
Overview
We will demonstrate the delegation process on Core wallet.
Website: Delegate Directly to Avalanche (AVAX) Network | Core
DxPool Node ID: NodeID-ExJ8FGcRjTGHPBabqkZ3G8NgPsbhQ9EWA
I. Connect a wallet
- You need to connect your Avalanche Wallet.
💡 If you already have your Avalanche Wallet connected, skip to step 2.

II. Prepare your $AVAX
You will need some $AVAX to start staking, there are some tips about the Avalanche Network that you should keep in mind:
- X-Chain address is to receive funds. Your address will change after every deposit. You can keep using previous addresses.
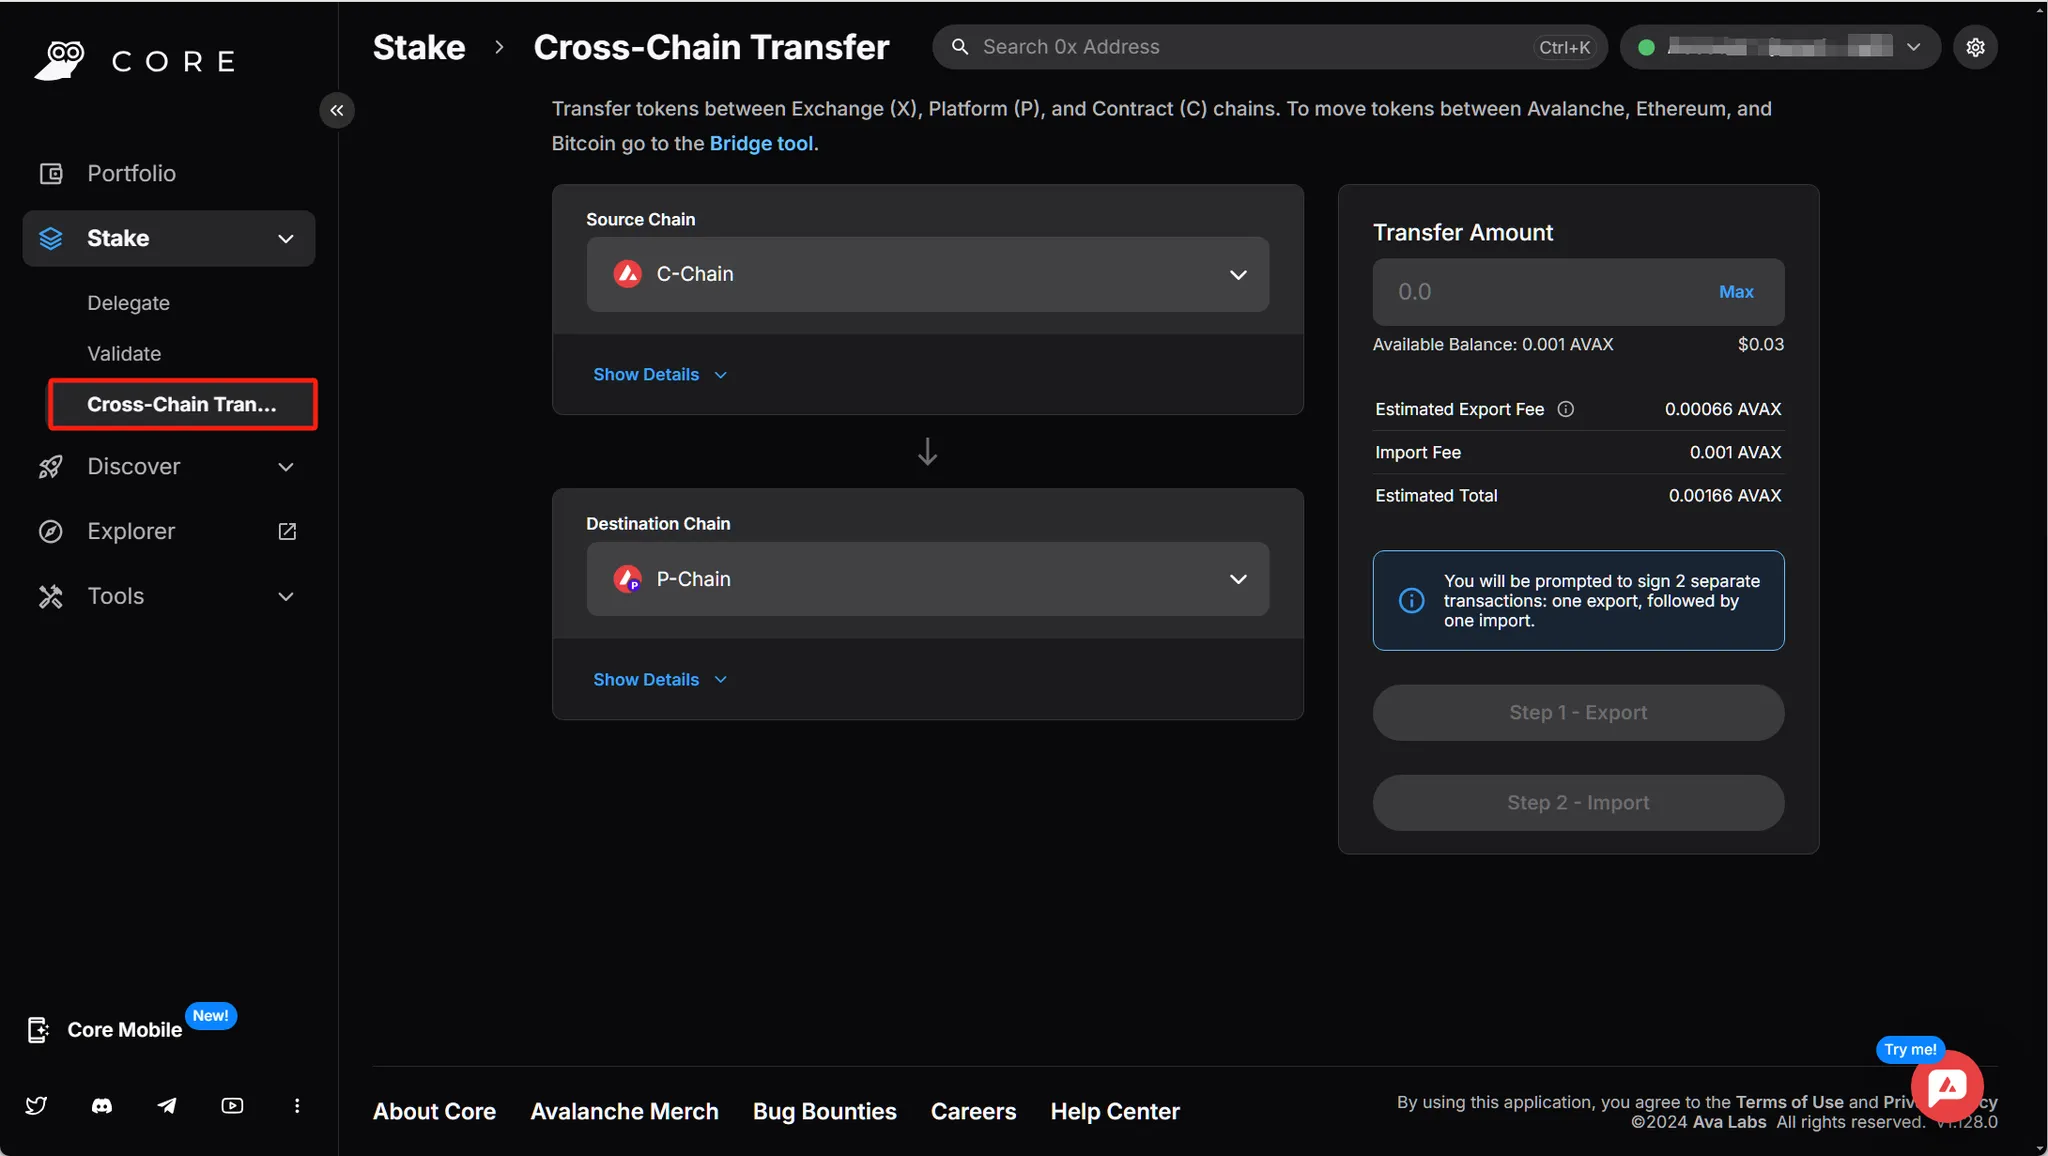
- P-Chain address is to receive staking rewards and cross chain transfers.
- C-Chain address is to interact with the ethereum virtual machine.
We will be using P-chain to conduct staking activities, you may need to swap your coins to the correct chain beforehand.
III. Select DxPool Node
Once your AVAX is on the P-chain, it's time to stake!
- Staking Amount

- Node Info
- Click on Next and then Select a Node ID to Delegate to. Now you want to choose the Node you're delegating to. In order to delegate to the DxPool node, copy the following node-id:
NodeID-ExJ8FGcRjTGHPBabqkZ3G8NgPsbhQ9EWA - Go to Search Node ID and paste it there. Click Select.
- Click on Next and then Select a Node ID to Delegate to. Now you want to choose the Node you're delegating to. In order to delegate to the DxPool node, copy the following node-id:

Our DxPool Node just started another 1-year staking period ends in Sep. 4, 2025.
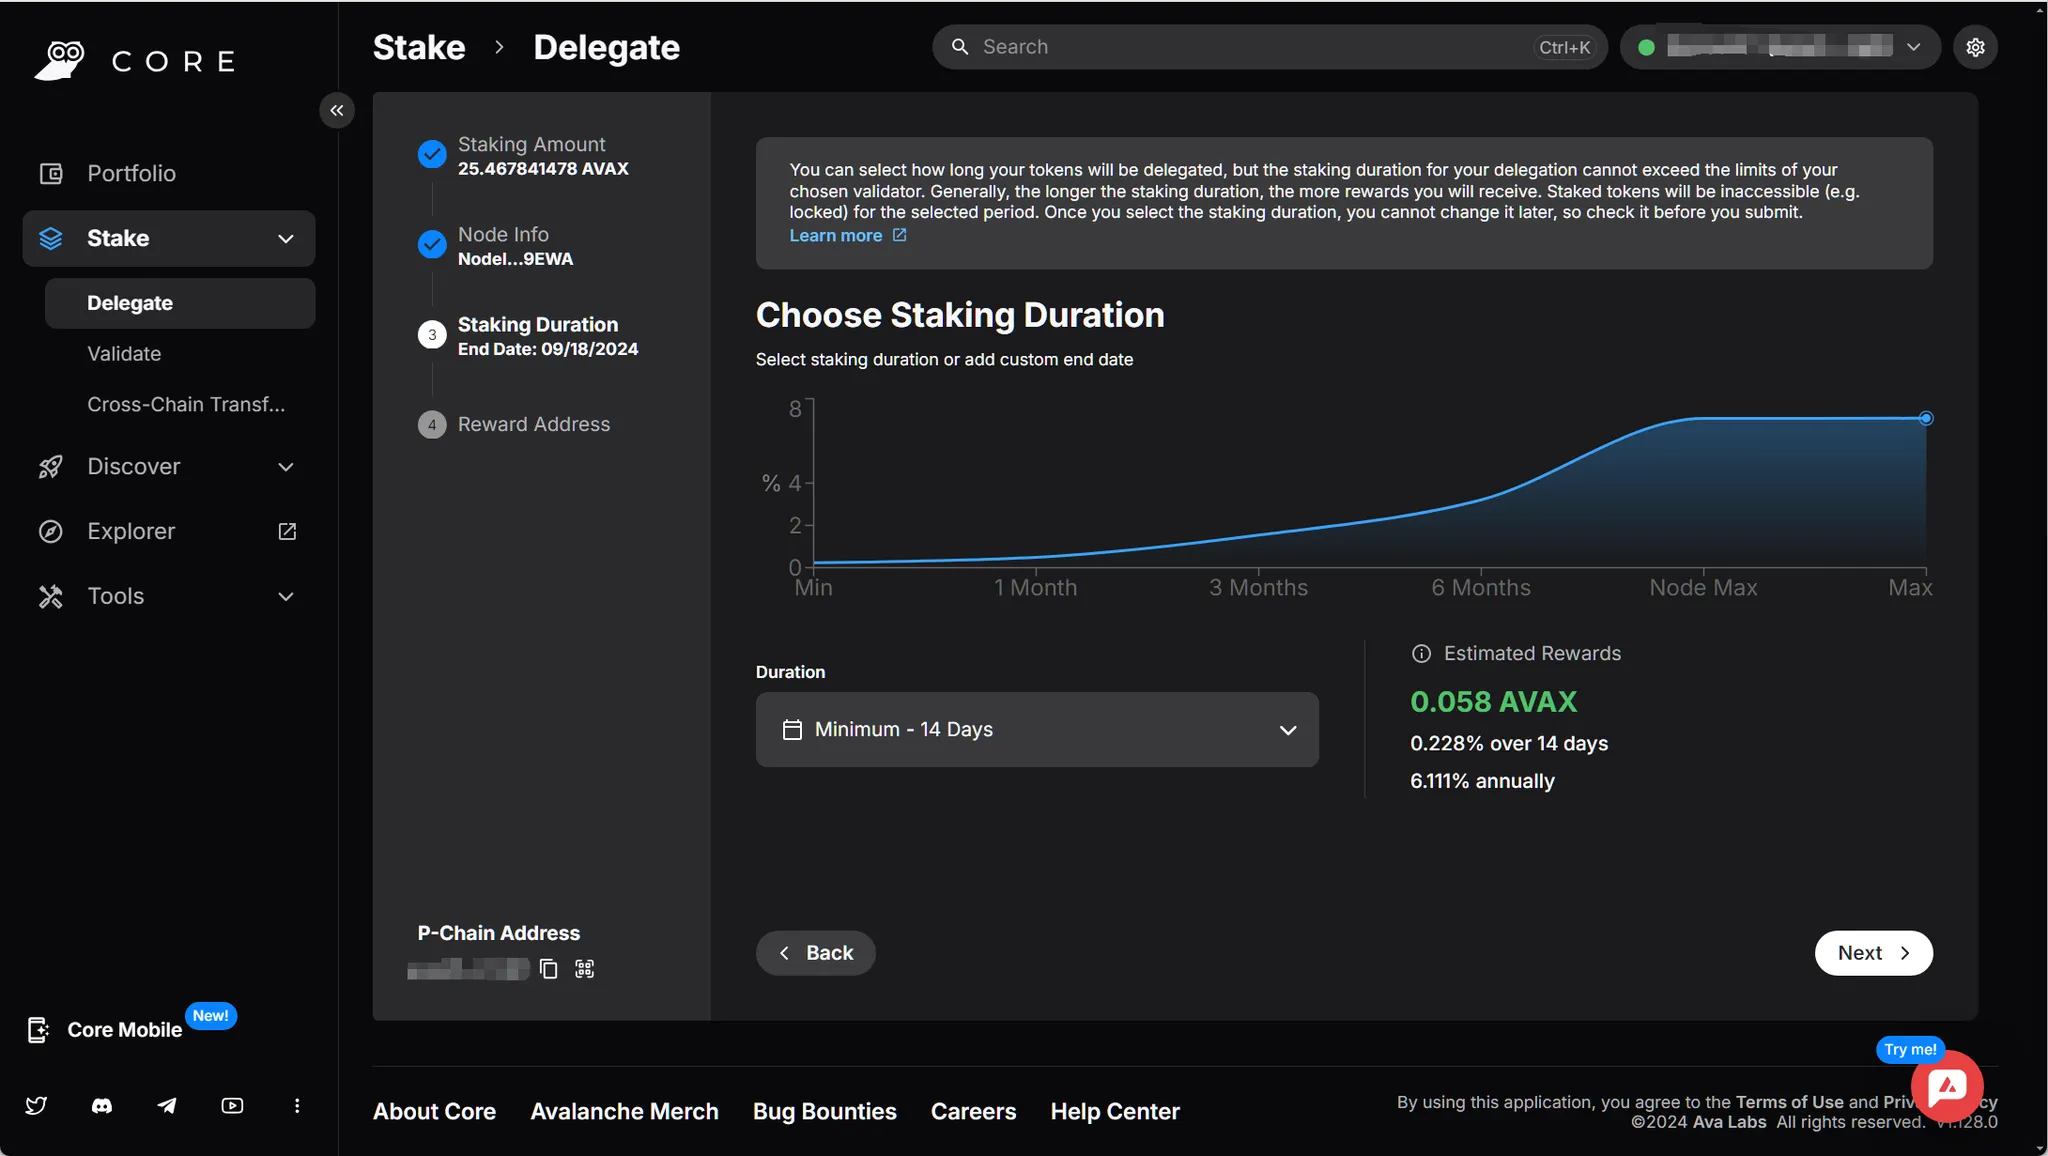
- Staking Duration
- The minimum staking duration is 14 days, and you can select up to node’s max duration time.
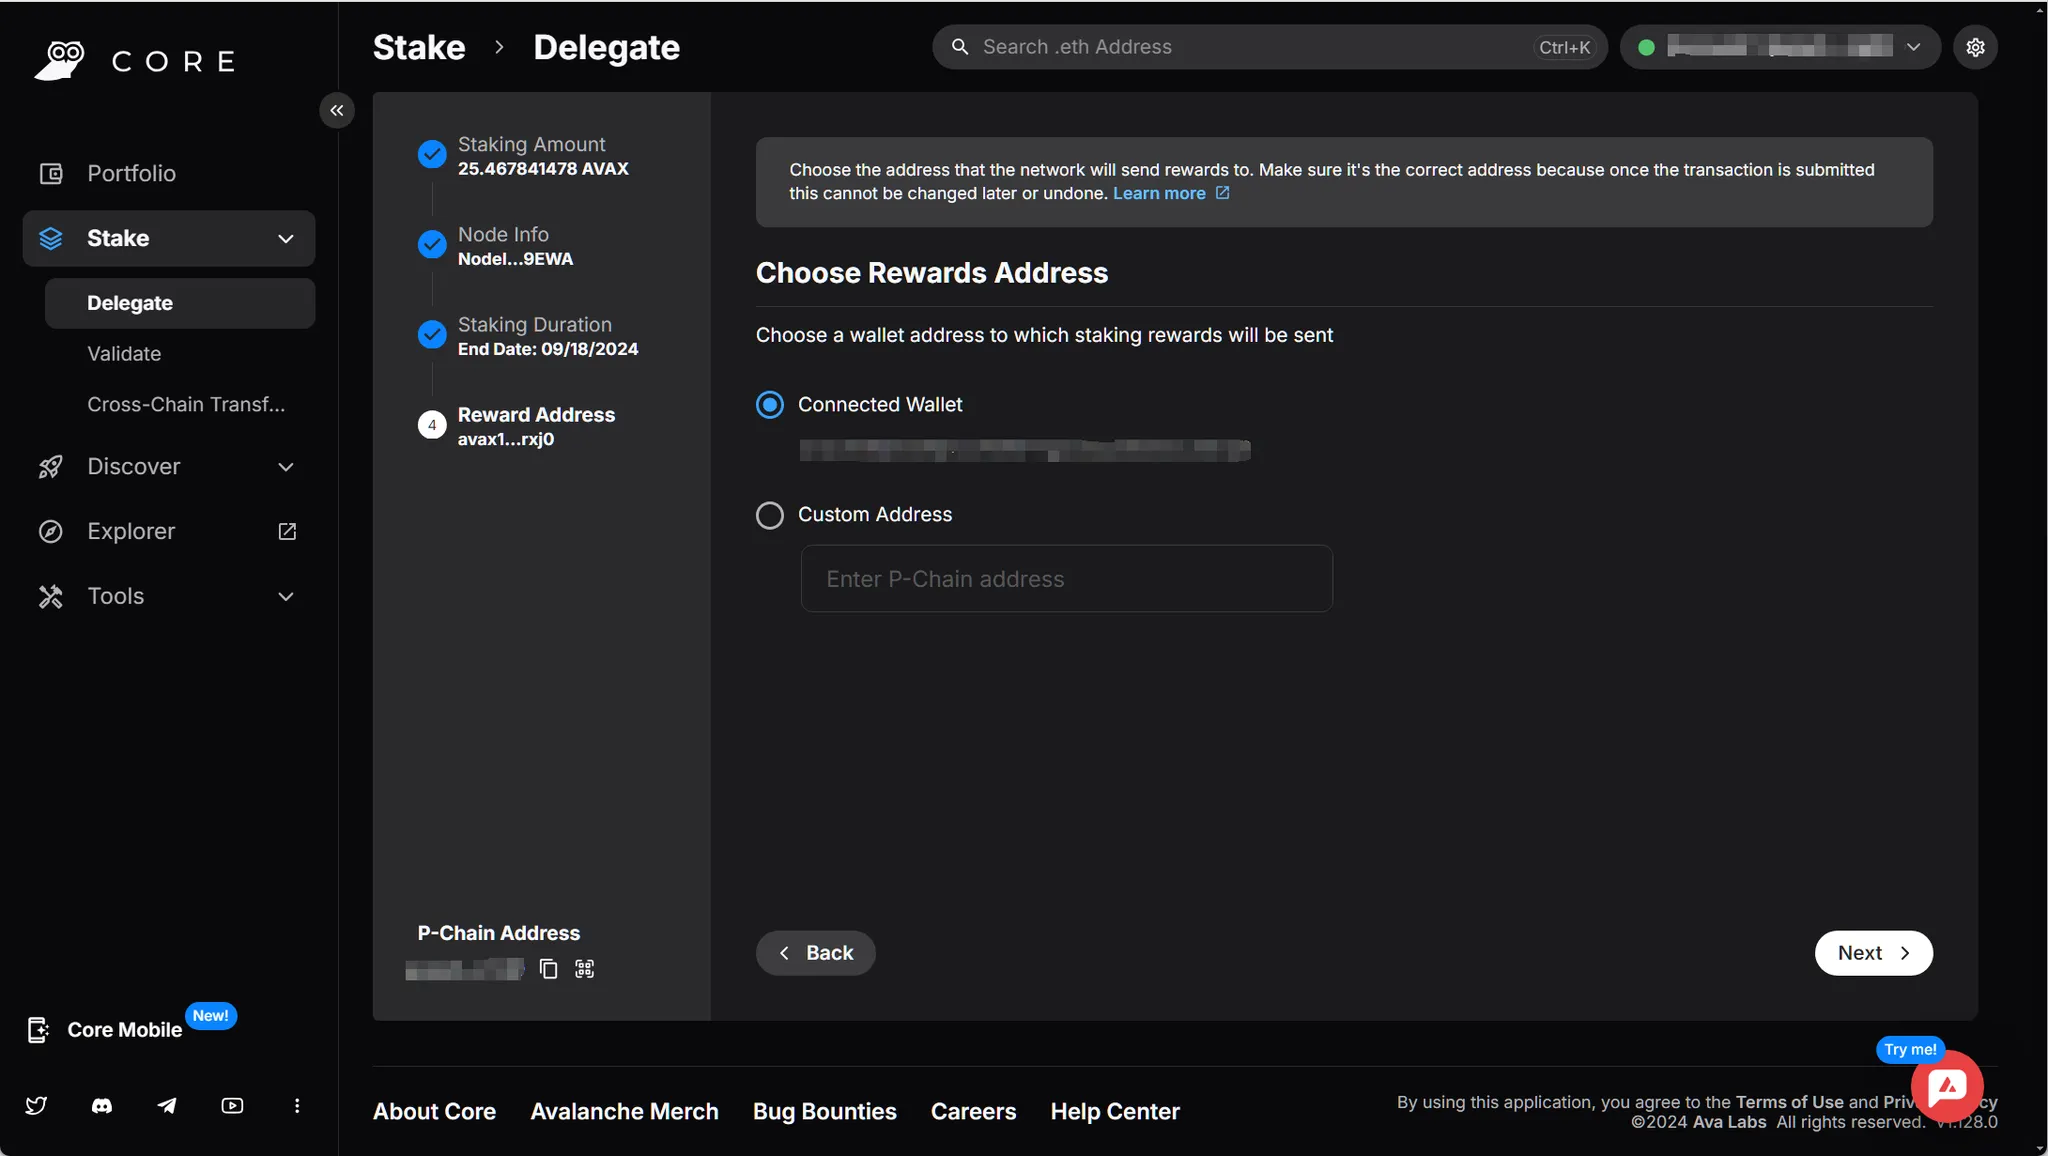
- Reward Address
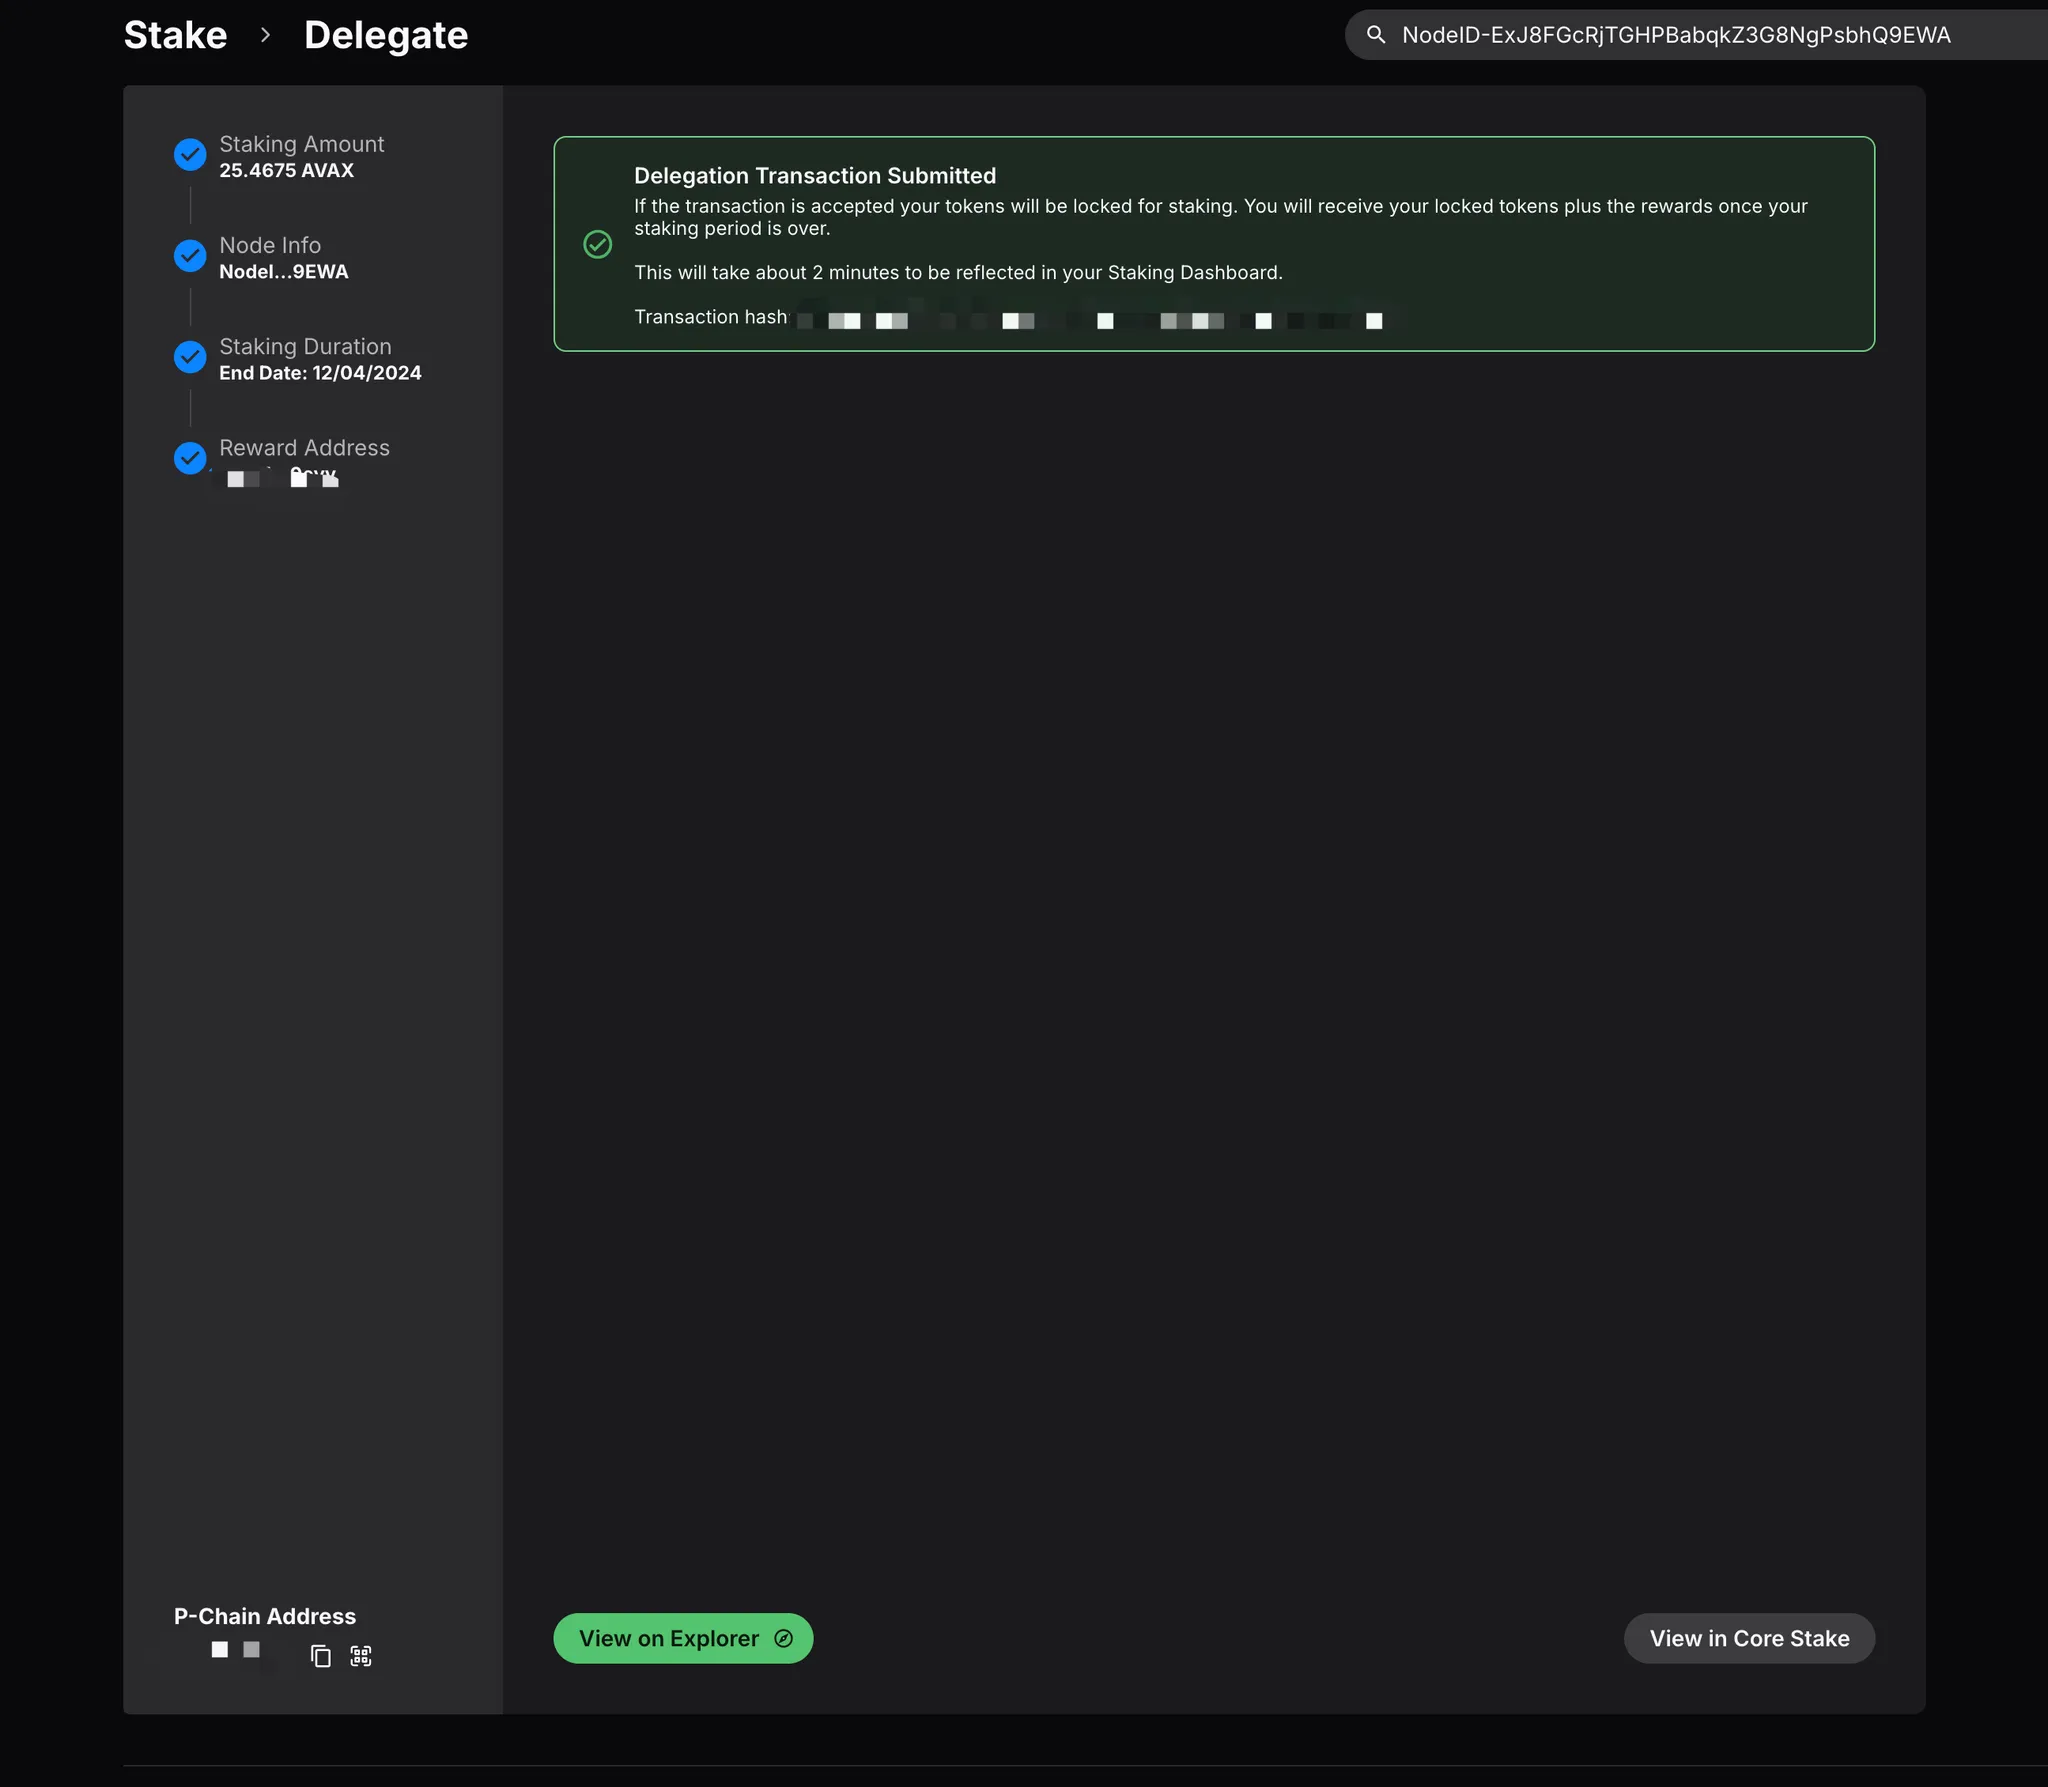
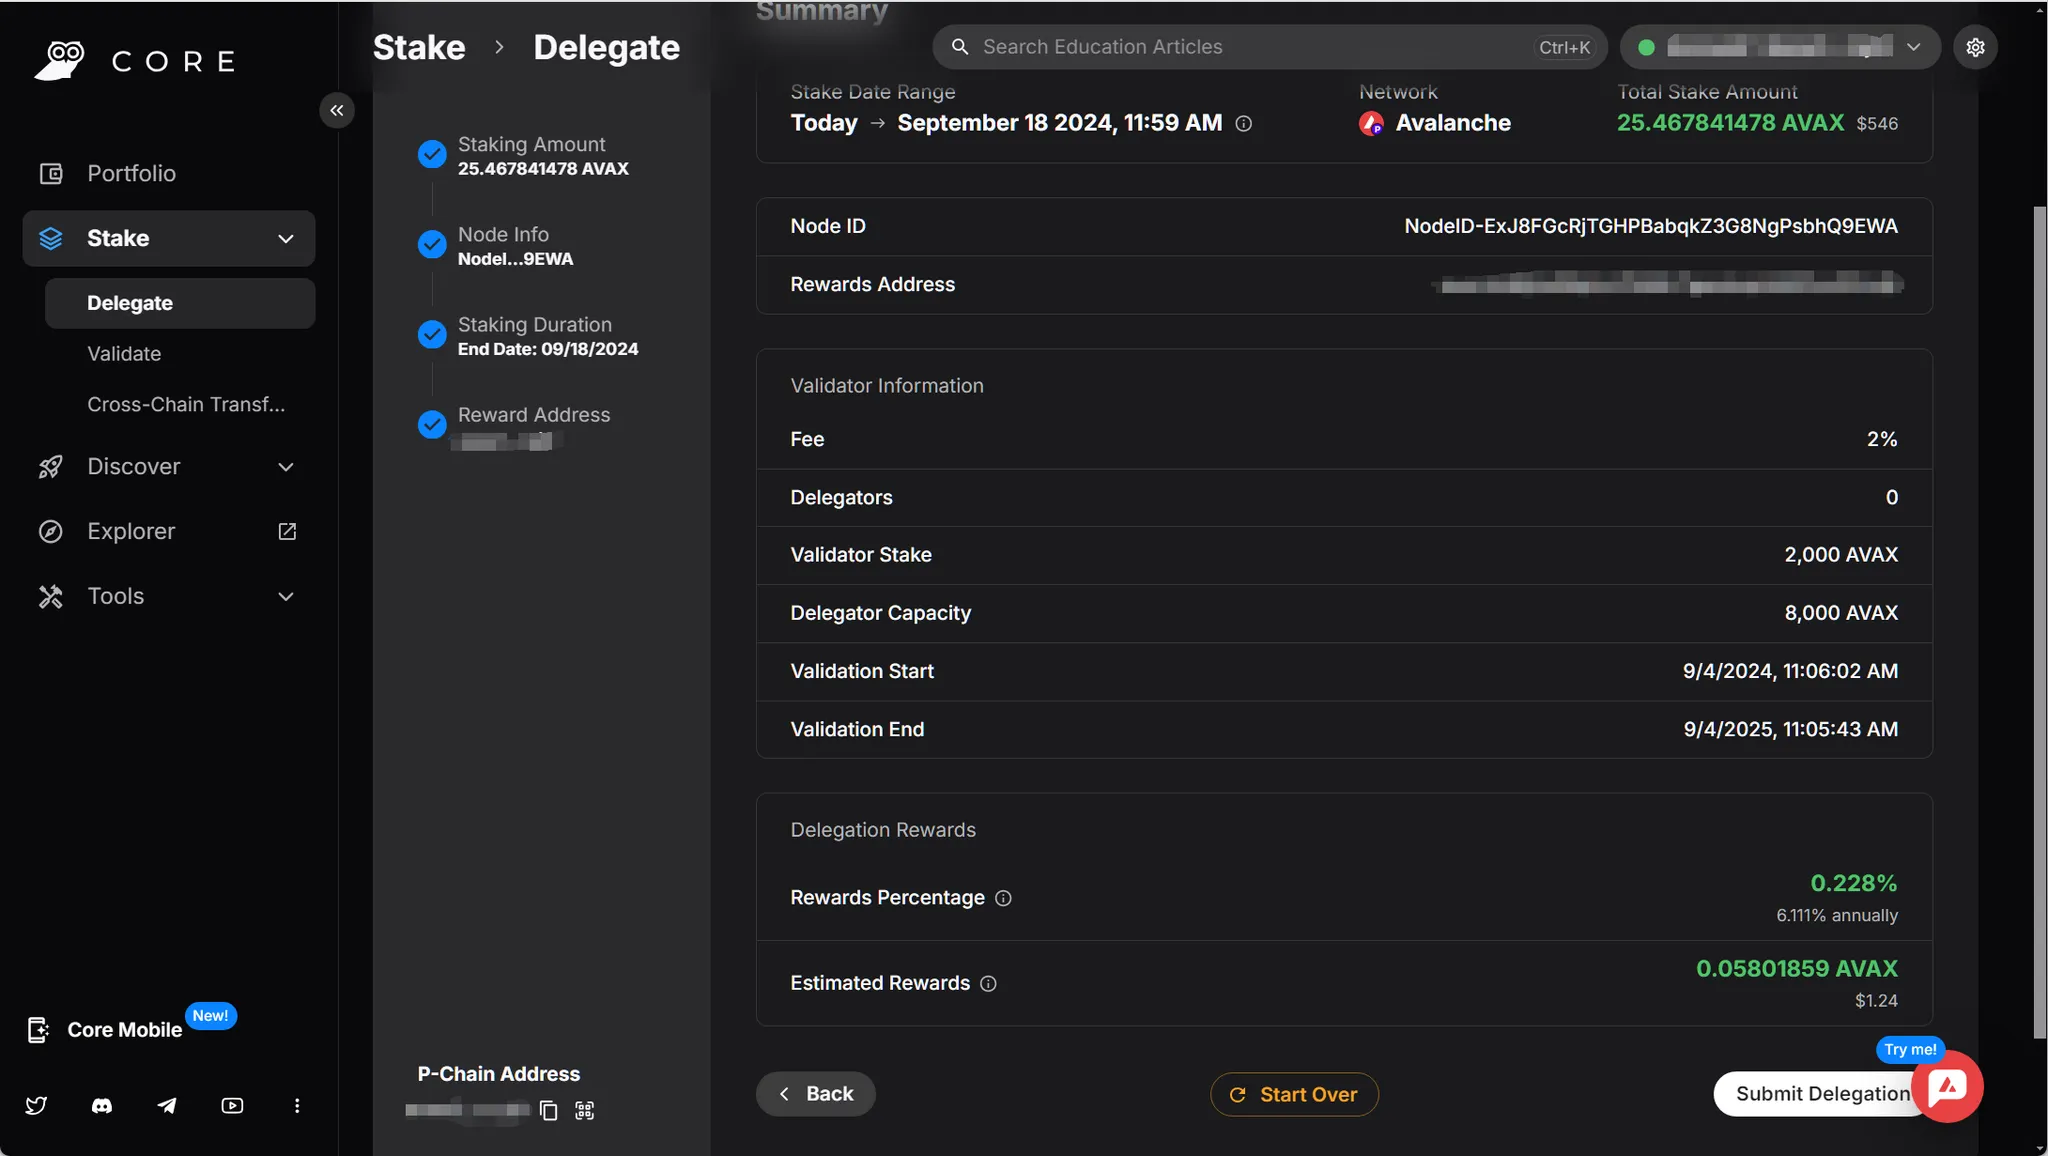
IV. Confirm Delegation
- Confirm everything before submitting your delegation request.
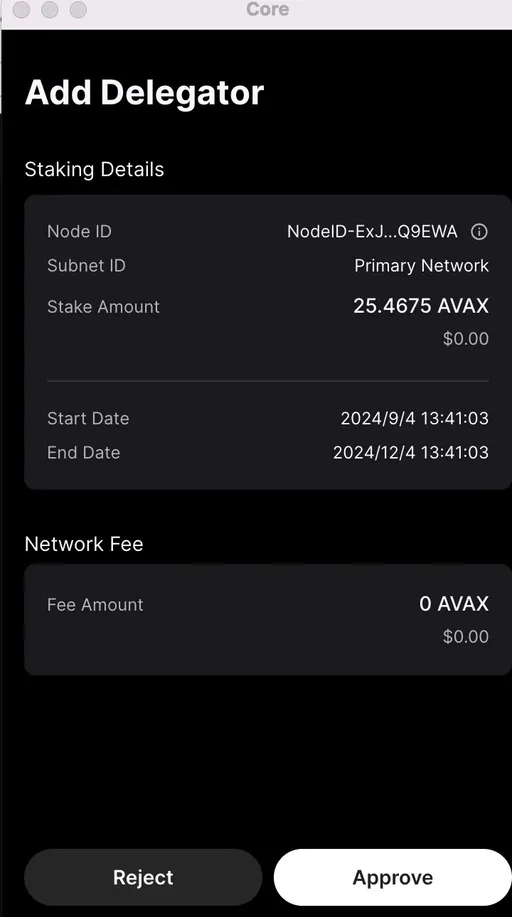
- Confirm in your wallet.
- Transaction details is visible on Explorer.